

This month we have the theme of Comfort & Joy in the Eileen Hull Fanclub FB group, and I really wanted to create a Christmas journal where I can add some of my favourite recipes, and maybe some photos.
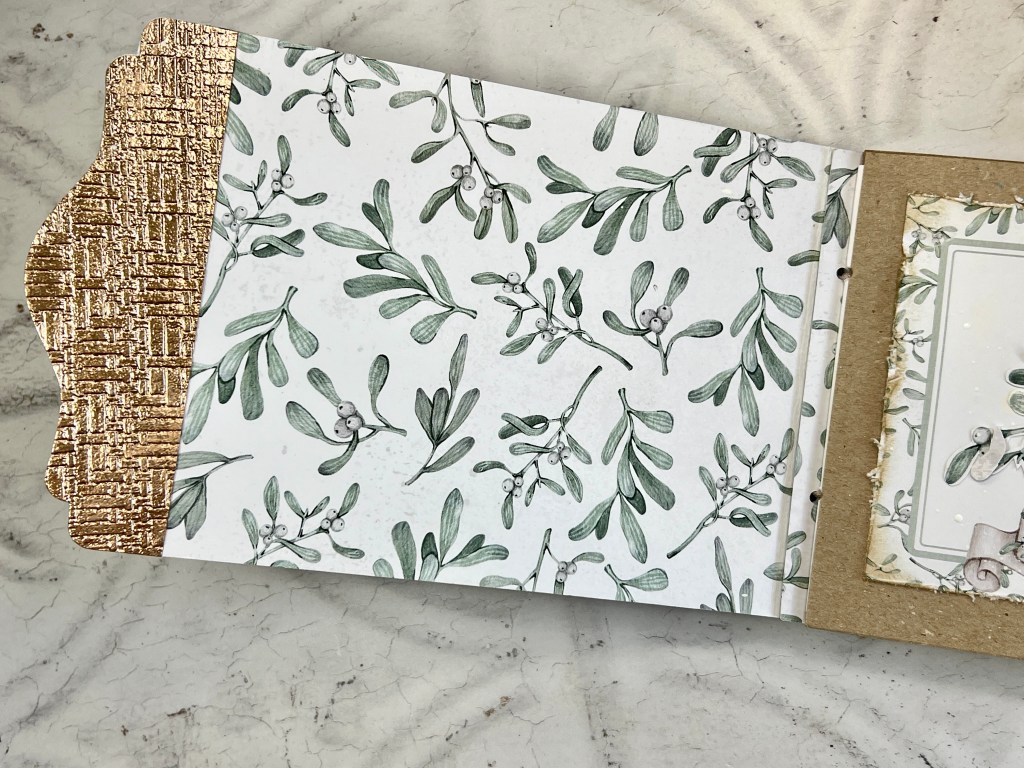
I had a happy accident with the cover. While die cutting the covers, I had decided to have the pale blue patterned card on the front, and the lovely mistletoe pattern inside. I accidentally put my mat board the wrong way up on my Bigz die and had just started to run it through when I realised.
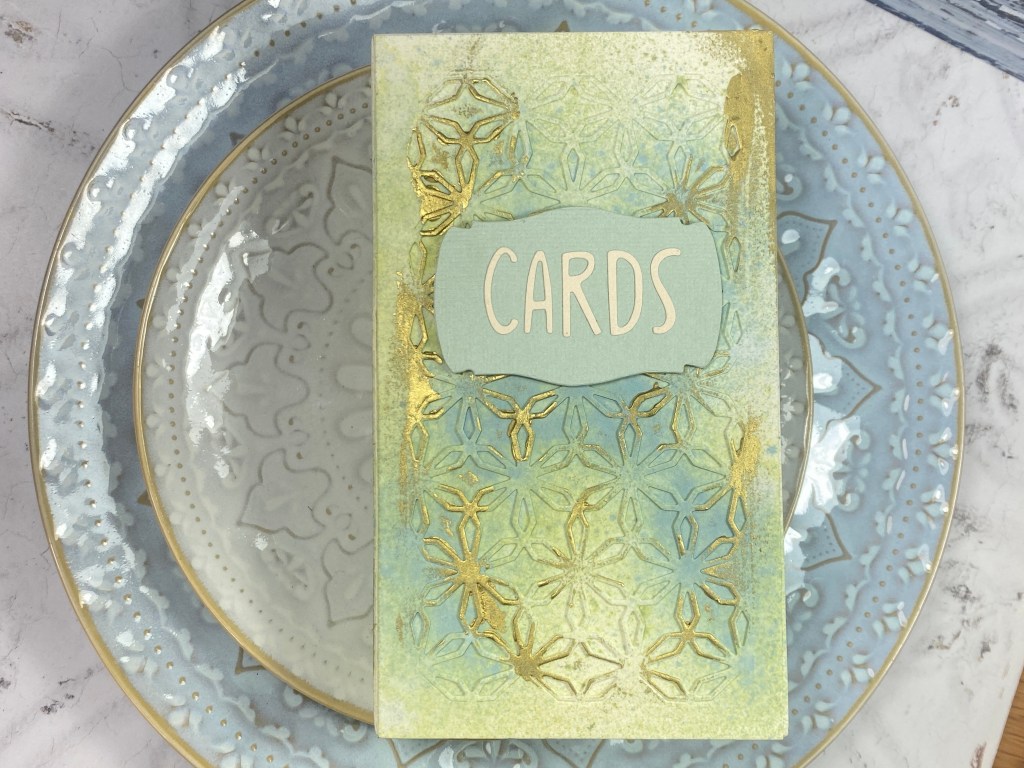
I quickly stopped, but I had made a bit of a cut into the mat board. Rather than toss it and start again, I decided I’d just cover it. So I took some rose gold texture roll, used the die to cut just a small panel to go over the ends, then I embossed it with the Woven Leather embossing folder. I put it front and back, and inside and out, and it covered my little mistake beautifully, and in fact adds a really nice feature. It’s something I wouldn’t have thought to do, but I’m really glad my mistake made me think of it!
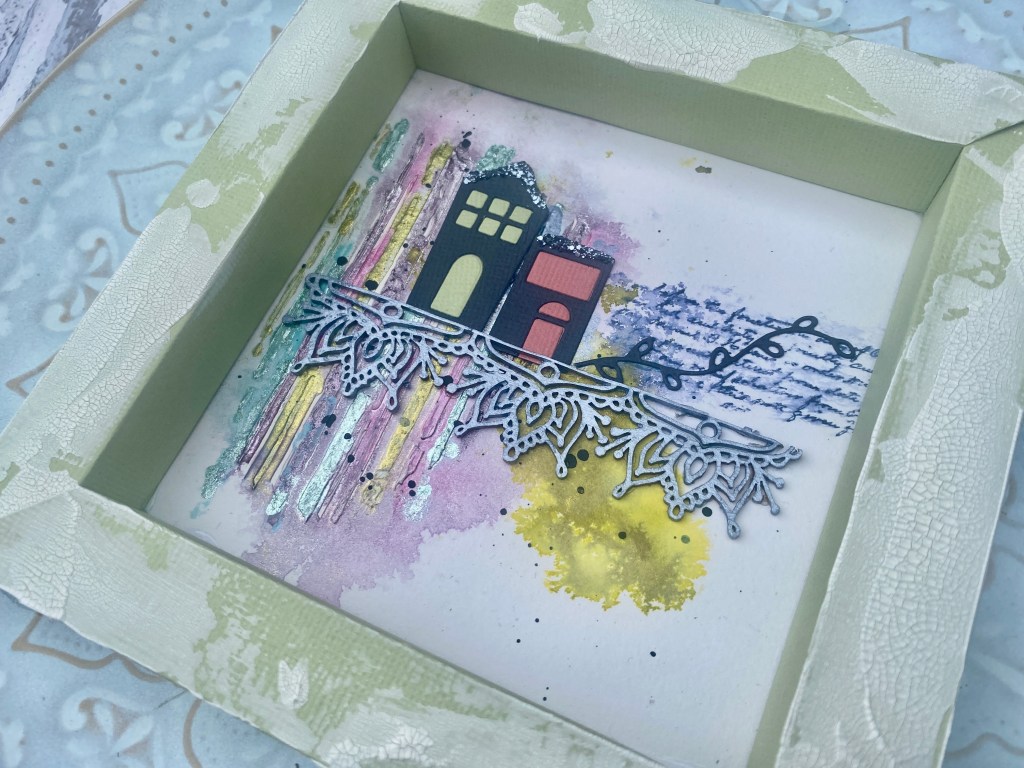
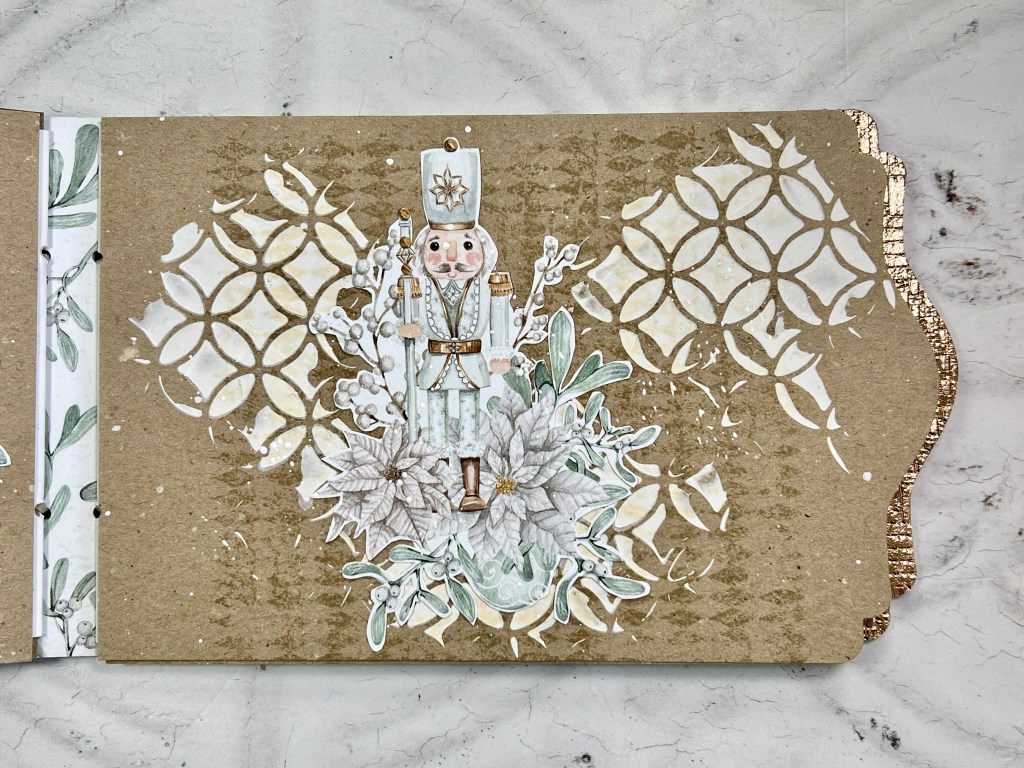
I used the little frame from the die to create a backdrop for my little nutcracker, and I added some white pigment ink to give it a distressed look.
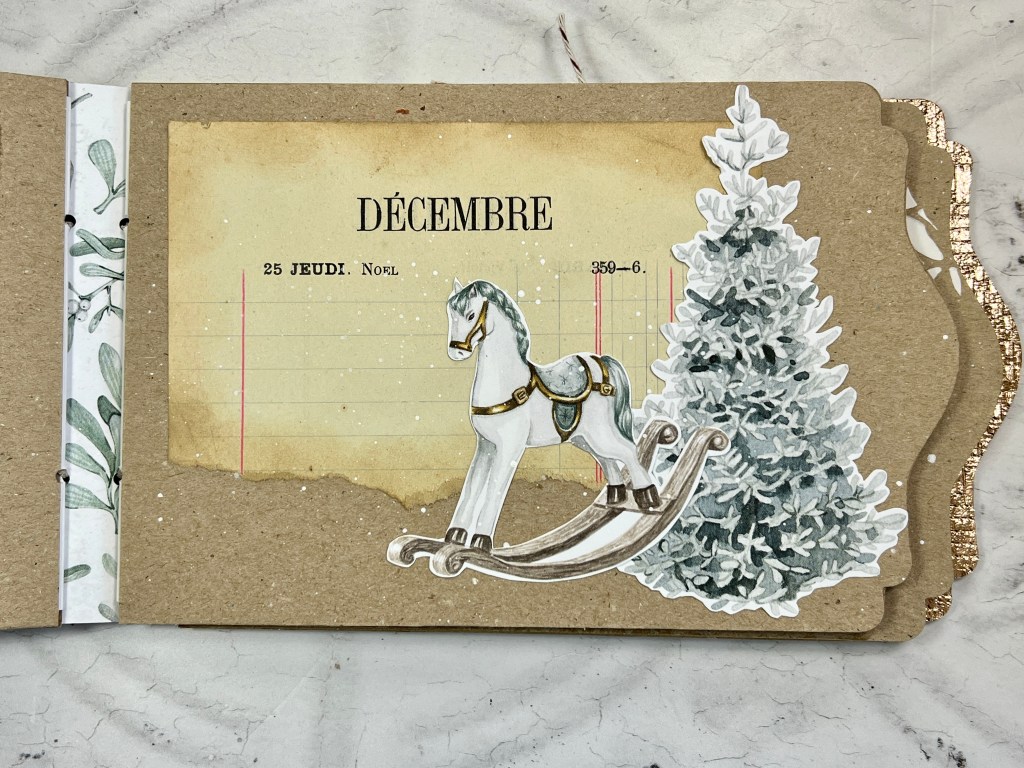
The papers used throughout the journal are from P13 Paper and the collection is called Christmas Charm.

For the inside pages, I used the die to create shaped pages from kraft card. I sandwiched a hinge of plain card between two die cut pages so that I could then tie them into the journal with seam binding.
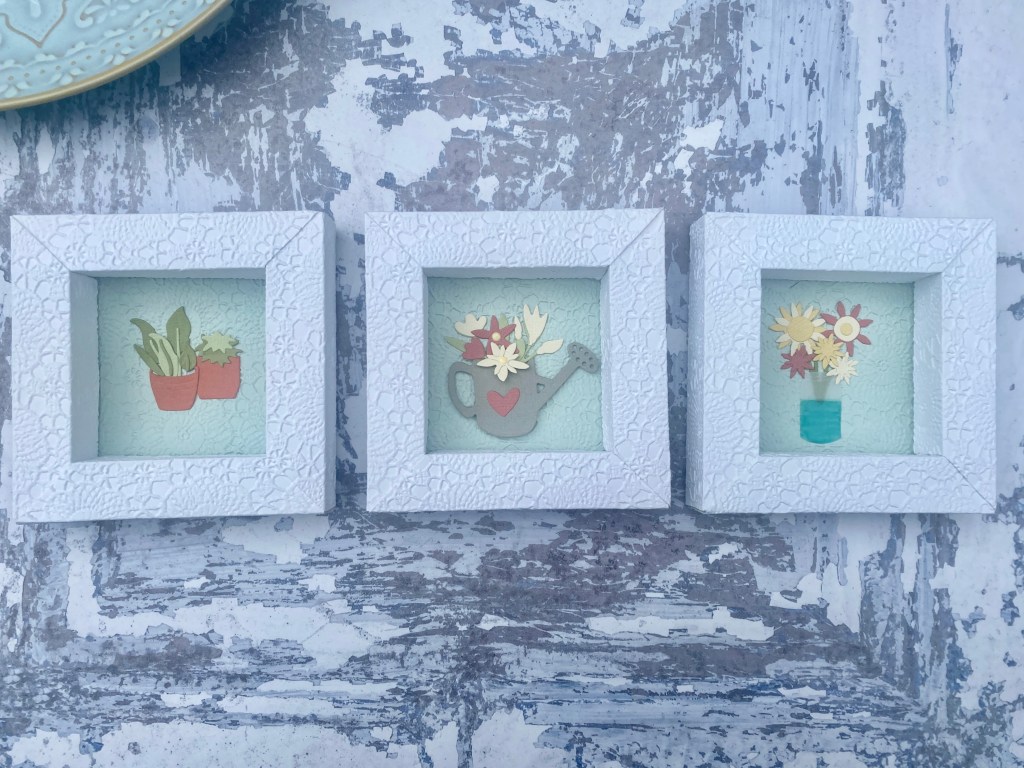
I decided to have some pages that were purely decorative, then just a few with panels where I can add my recipes.

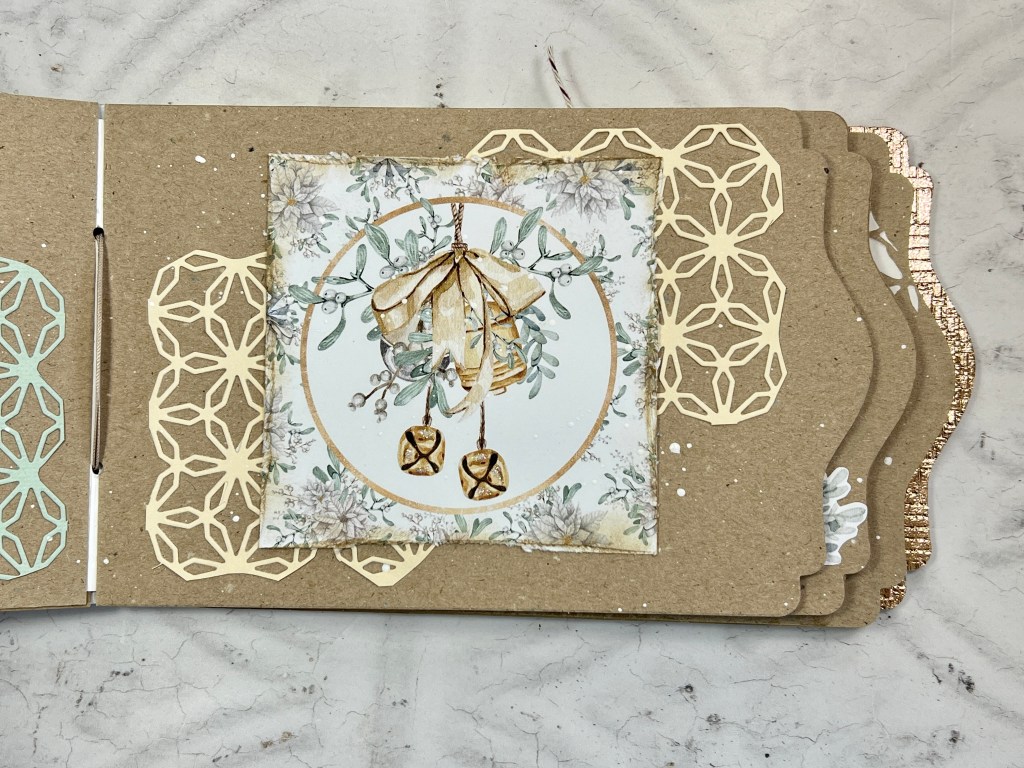
I used the Skinny Mini Elements die to create a bit of interest behind these two panels, and throughout the journal I have added paint splatters with white acrylic paint to give a snowy feel.

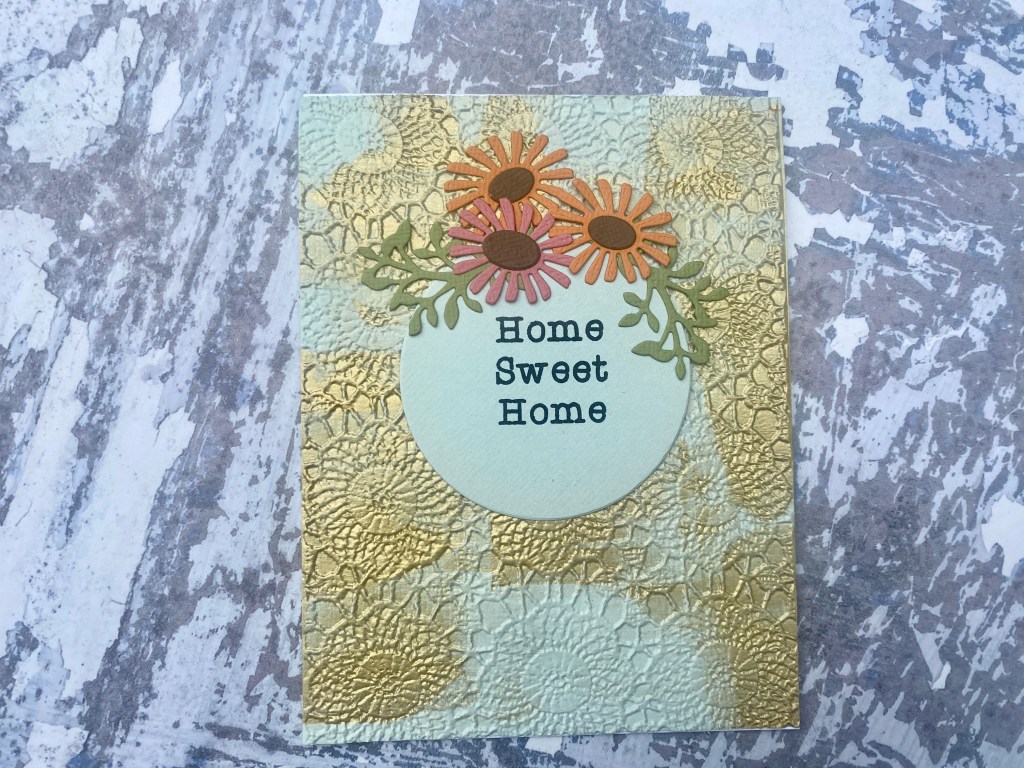
This panel has the perfect blank space for me to add a recipe. I haven’t fully stuck down the mistletoe piece so I can tuck something in underneath.

There’s another nice space for a recipe here too.

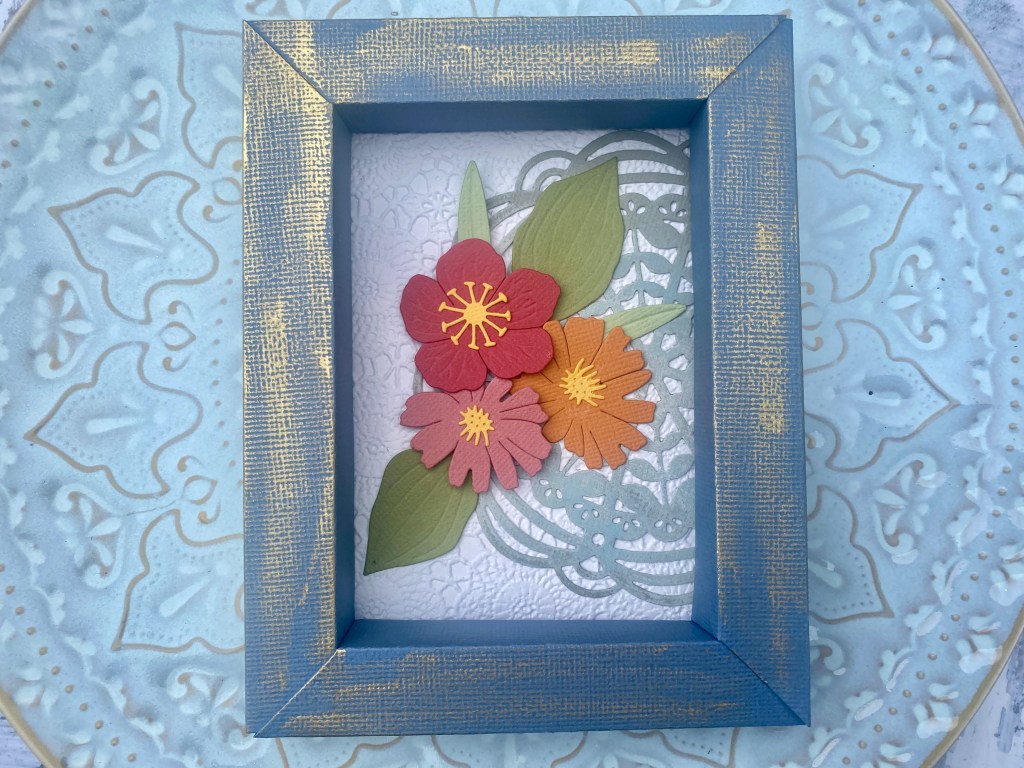
I used some Sizzix texture paste and a Studio Light stencil just to add a bit of added texture to this page. The images in this paper collection are quite fun – although there was a LOT of fussy cutting!

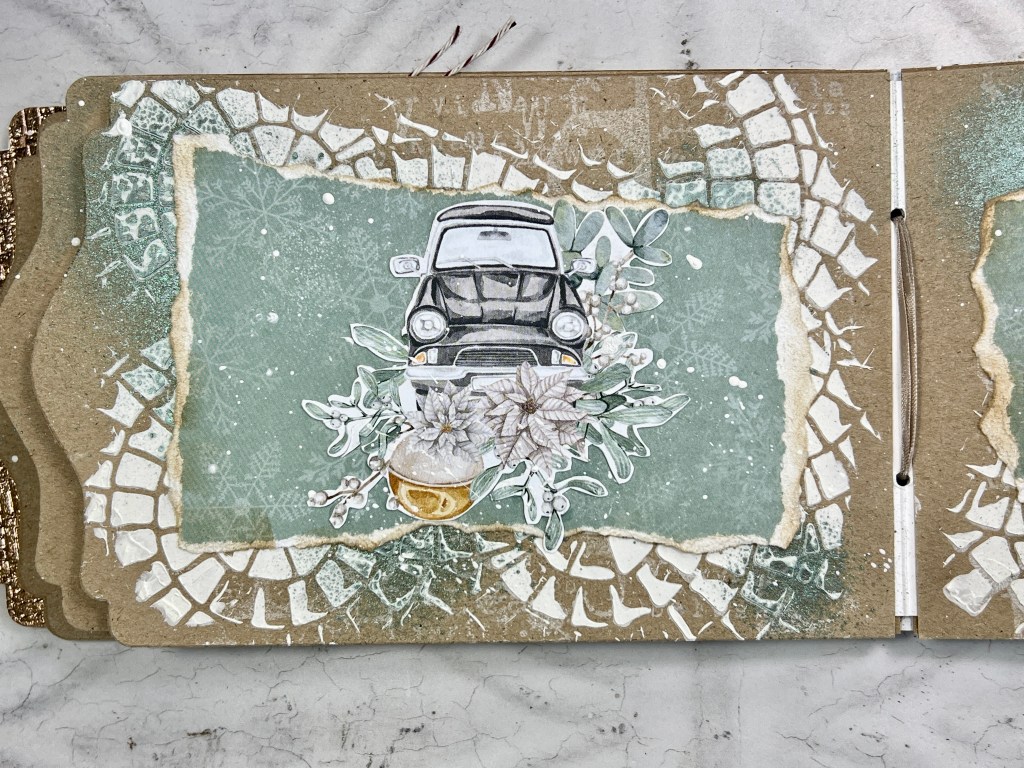

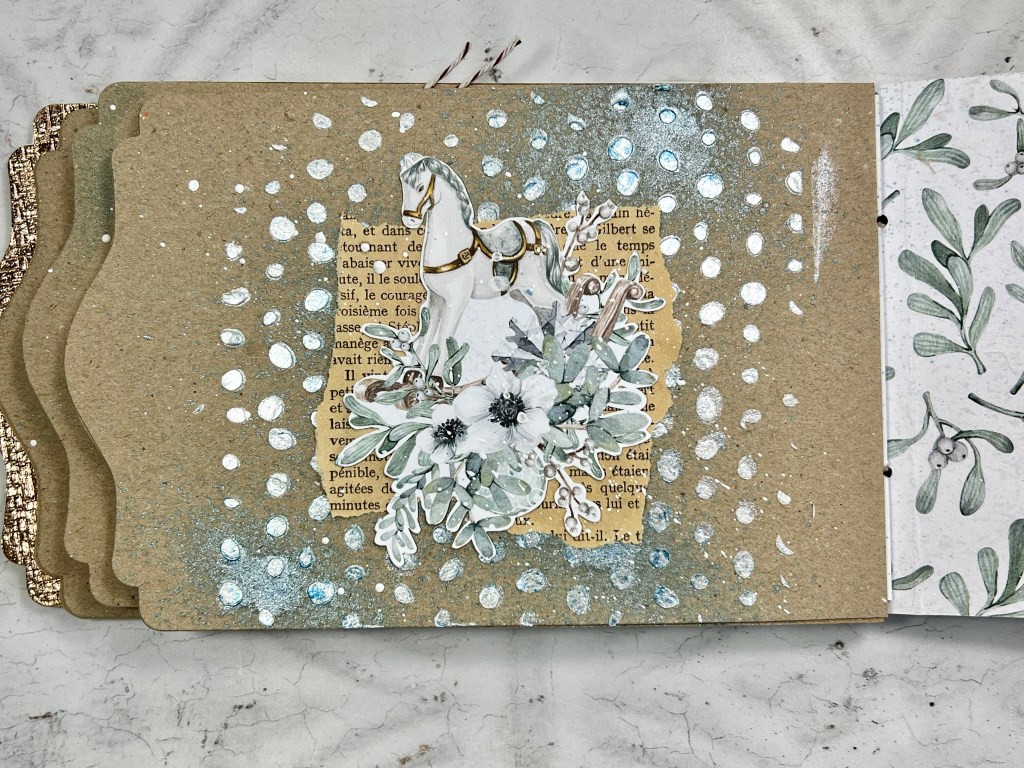
More texture paste on these pages, along with some mica spray. For the snow on this last page I used Pearlescent medium instead of plain texture paste.


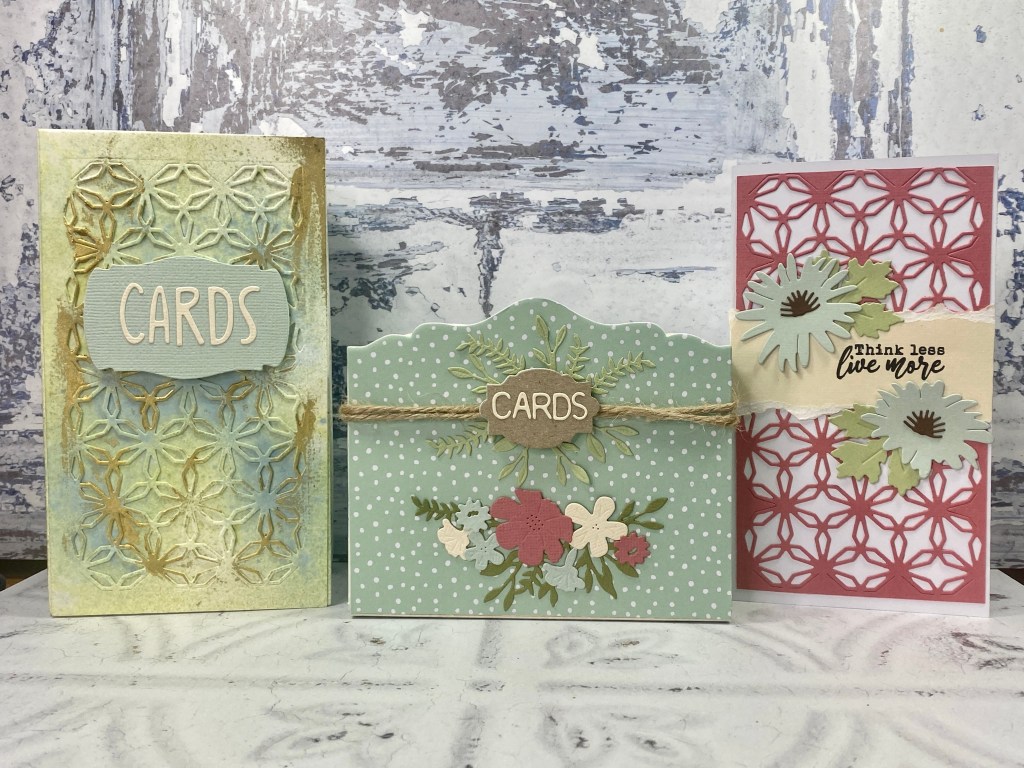
I’ve really enjoyed making this journal, I think the Field Notes Journal is my current favourite, the scalloped edge is just so pretty, and I think my rose gold texture roll on the edges is now my new thing to do on all journals!

 Sizzix Eileen Hull Field Notes Journal Shop at: SZ | CS | SBC |
 Sizzix Eileen Hull Envelope, Folder & flowers Shop at: SZ | CS | SBC |
 Sizzix Eileen Hull Embossing Folder Woven Leather Shop at: SSS | SZ | AZ | CS | SBC |
 Sizzix Surfaces Mat board white* Shop at: SSS | SZ | CS | SBC |
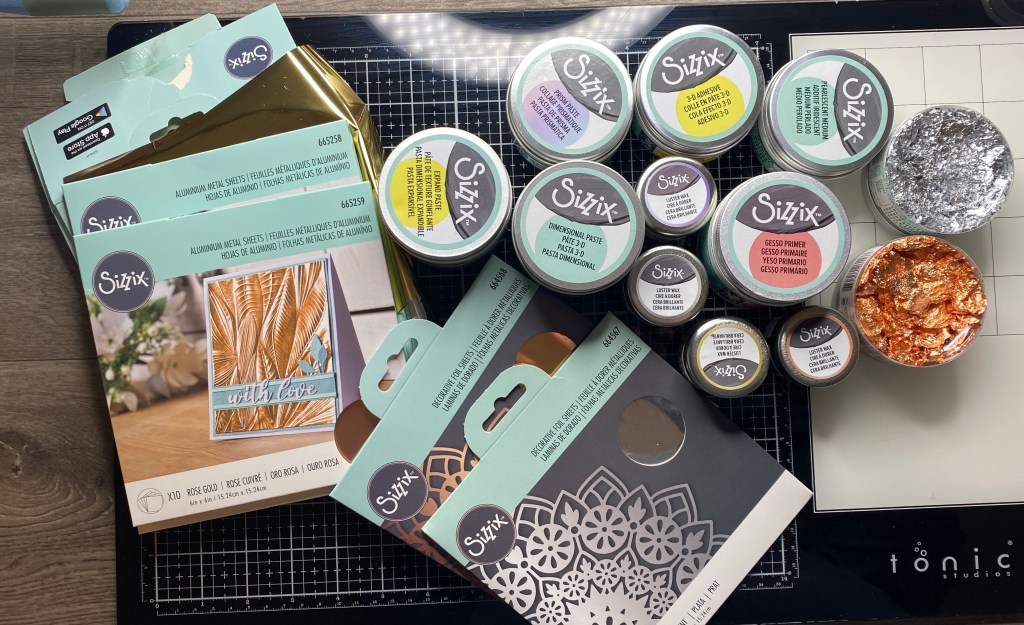
 Sizzix Surfaces Texture Roll Rose Gold Shop at: SZ | AZ | CS | SBC |
 Sizzix Effectz Dimensional Paste Shop at: SSS | CS | SBC |
 Sizzix Effectz Pearlescent Medium Shop at: SSS | CS | SBC |
 Sizzix Big Shot Die Cutting machine Shop at: SSS | SZ | AZ | CS | SBC |
 Sizzix Big Shot Switch Plus Electric die cutting machine Tim Holtz Black Shop at: SSS | SZ | AZ | CS | SBC |
 Sizzix Big Shot Switch Plus Electric die cutting machine white Shop at: SSS | SZ | AZ | CS | SBC |
 Sizzix Cutting Plates Extended Shop at: SSS | CS | SBC |