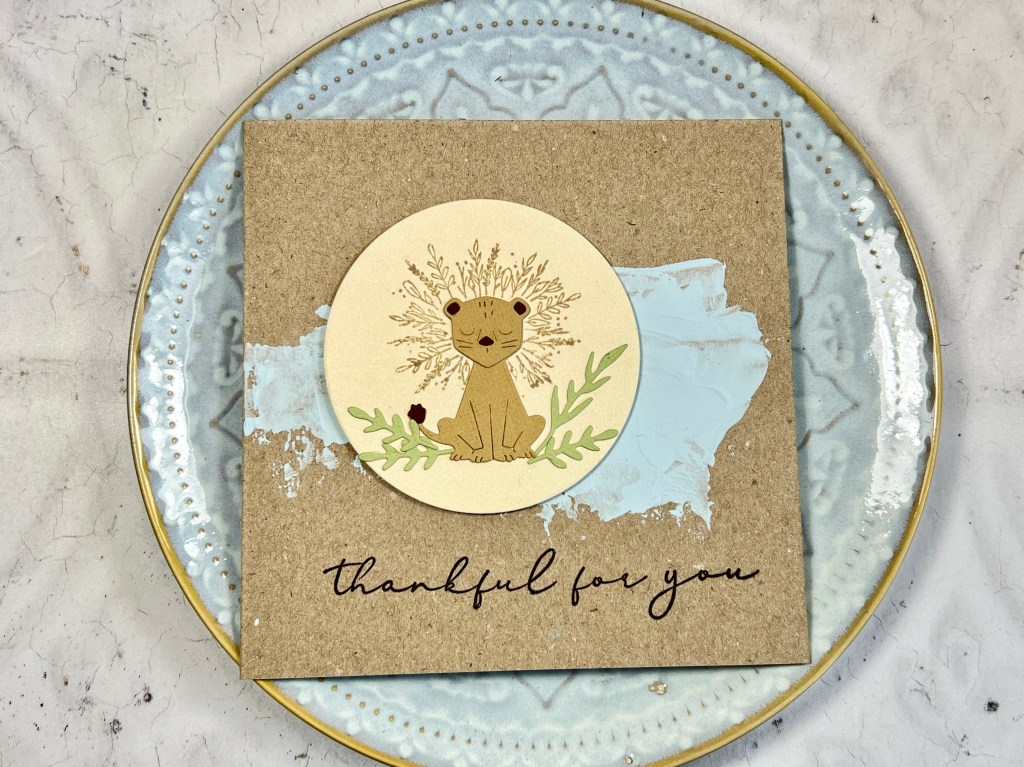
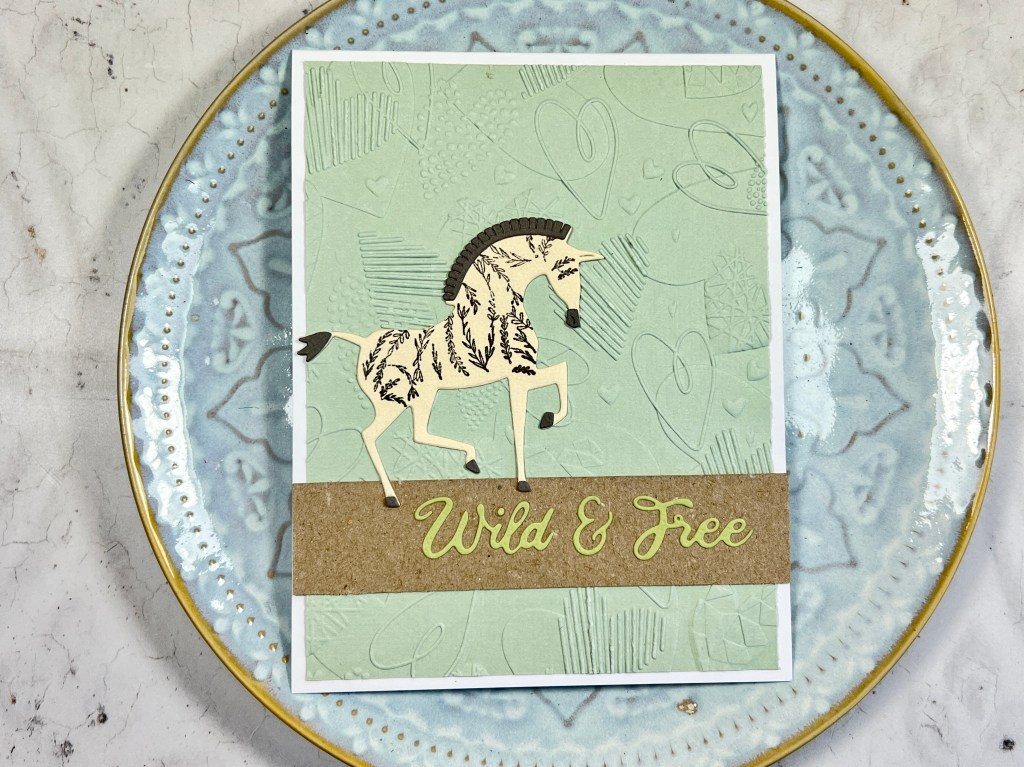
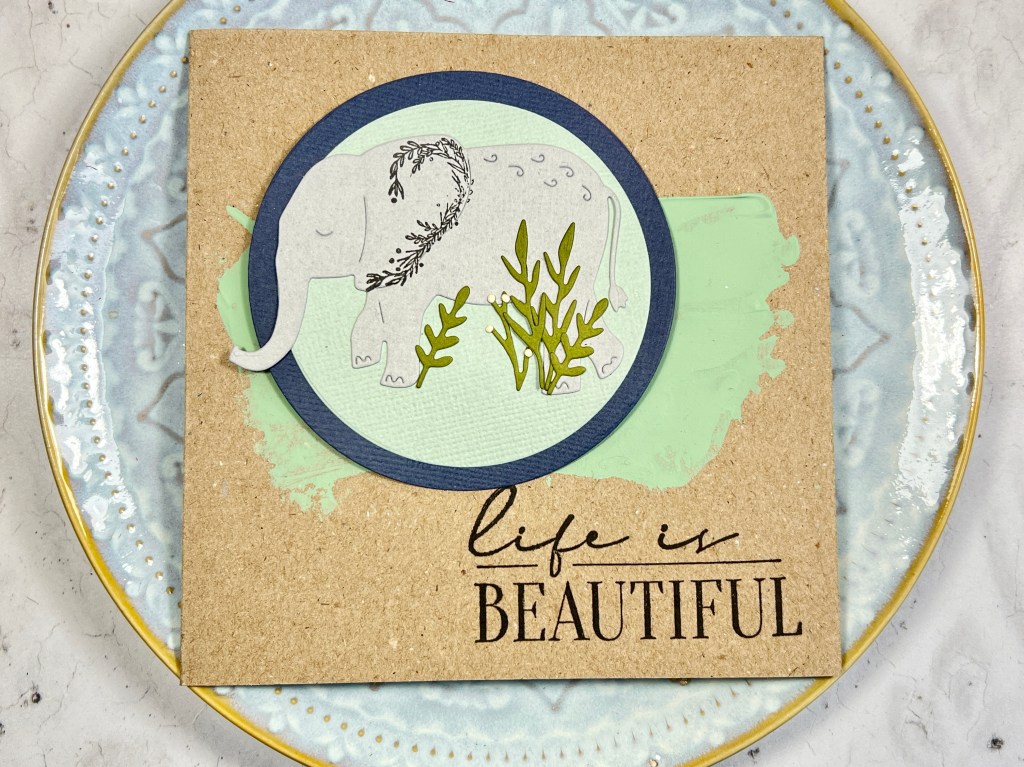
I’m back at Create and Craft this Wednesday and Thursday with some very cute Chapter 4 Sizzix dies. This cute little guy is from the Floral Safari set. There’s also a lovely elephant and zebra, with stamps to create little extra details.
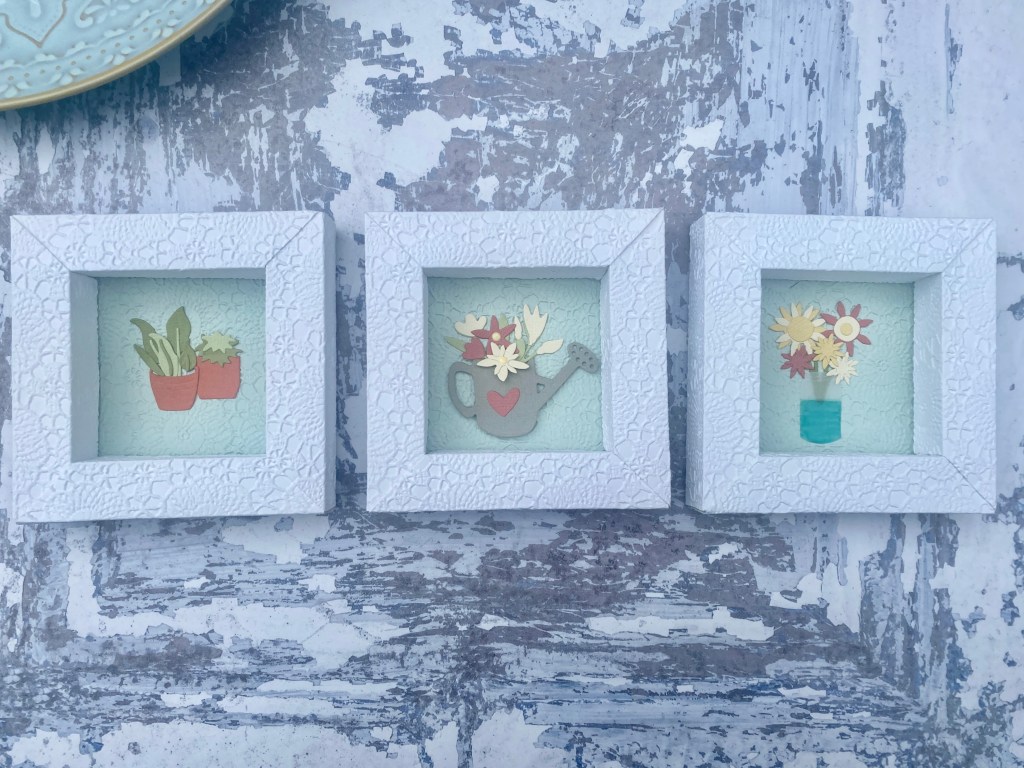
Next up is the lovely Birds and Blossom set, this framed piece shows all the dies in the set, which make a beautiful piece of art, but you can use all the elements individually for some lovely card designs.
This collection is full of cute animals, and the Arctic Animals set is no exception. Love this little husky.
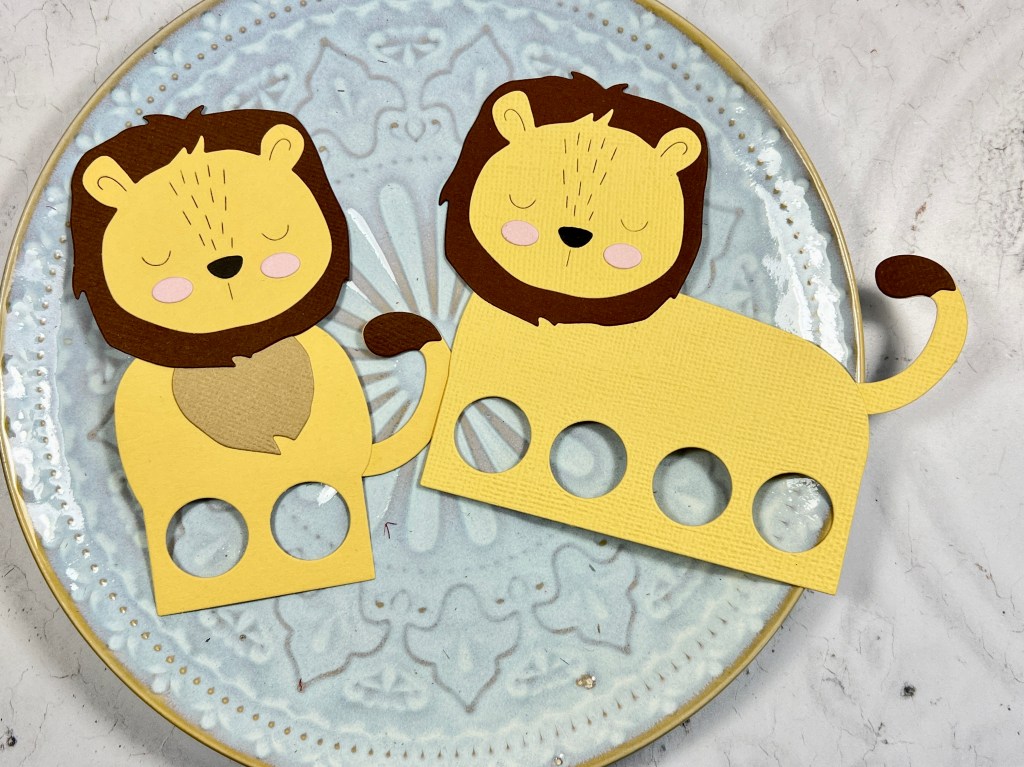
These finger puppets are really fun. Great for kids parties, but you can also snip off the bottom to use them on card fronts.Finally, the Adornment Impresslit embossing folder creates this rather elegant mandala design with so much detail.
The show times are as follows (but check the schedule as they are subject to change – 5 October at 4pm and 8pm, then 6 October at 8am.
Affiliate links are used at no cost to you
Sizzix Arctic Animals die set Shop at: SZ | AZ | CS | SBC
Sizzix Floral Safari die set Shop at: SZ | CS | SBC
Sizzix Birds & Blossoms die set Shop at: SZ | CS | SBC
Sizzix Animal Finger Puppets die set Shop at: SZ | CS | SBC
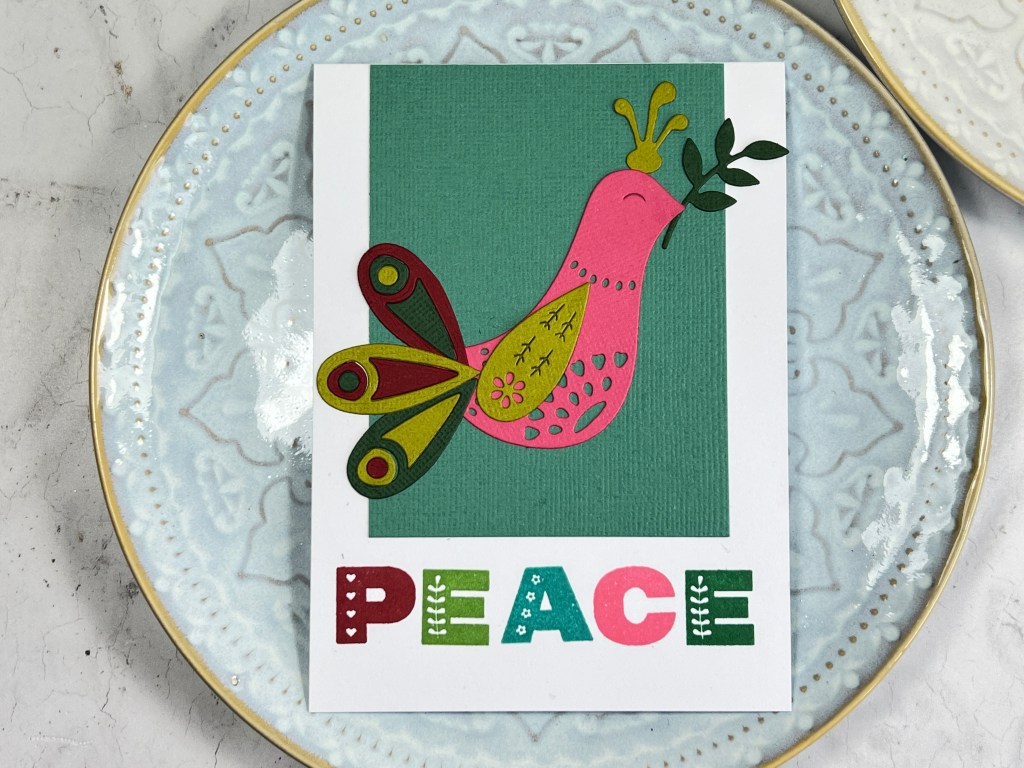
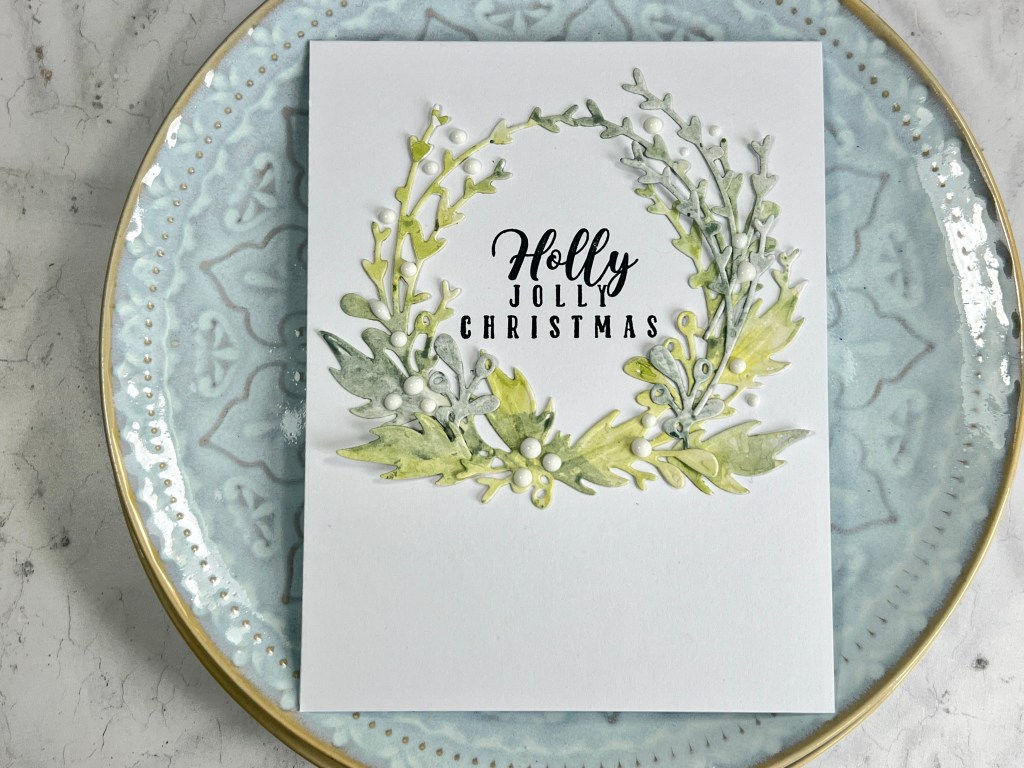
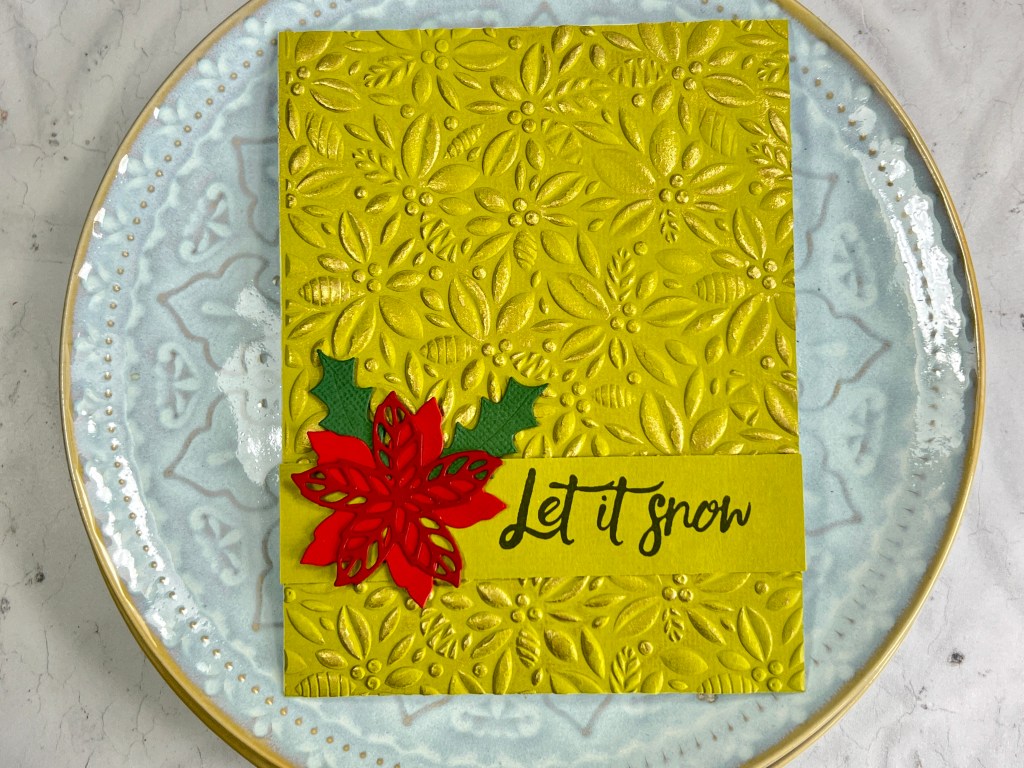
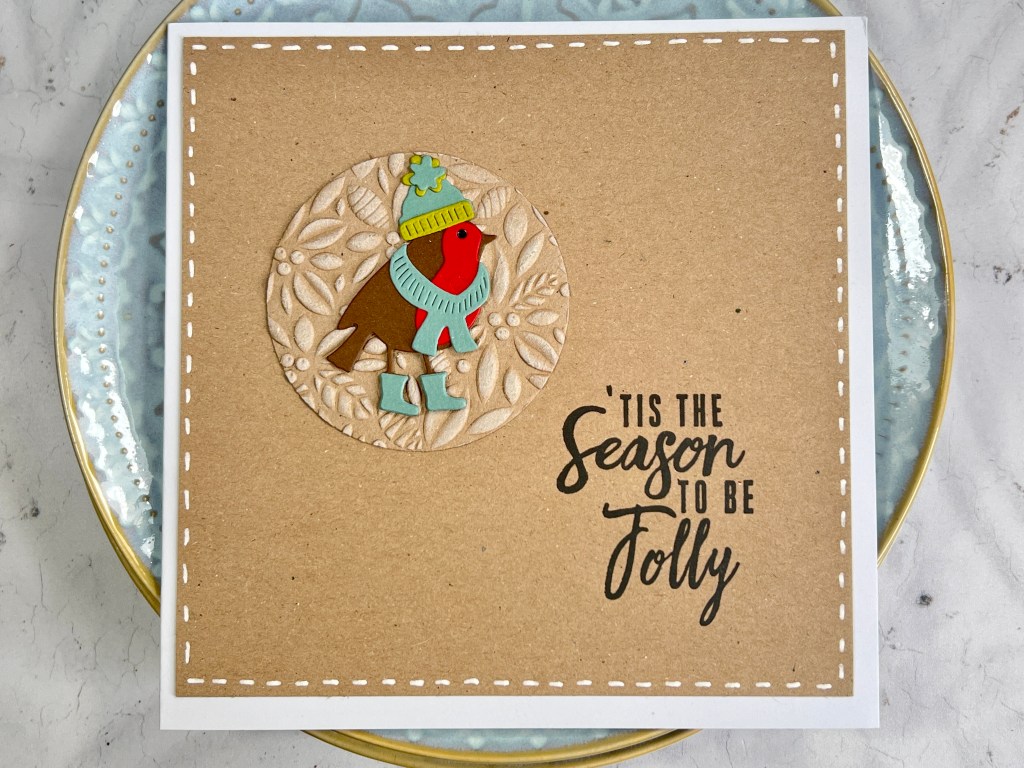
It’s Christmas card making this week for my regular card class. Although I have thrown in a couple of Autumn cards too. I do have a couple of spaces still, so if you are interested in joining us, then drop me a message.
Today is launch day for Eileen’s new Sizzix release, it’s a fabulous collection and I can’t wait to bring these dies and embossing folders to Create and Craft in a couple of week’s time.
First, there’s a look at all the elements:
Here’s the info from Eileen herself on her thinking behind this collection –
“I am so excited to share my Chapter 3 Sizzix die collection! Each piece in the set stands alone but also coordinates with the others to make a truly versatile and valuable addition to your collection.
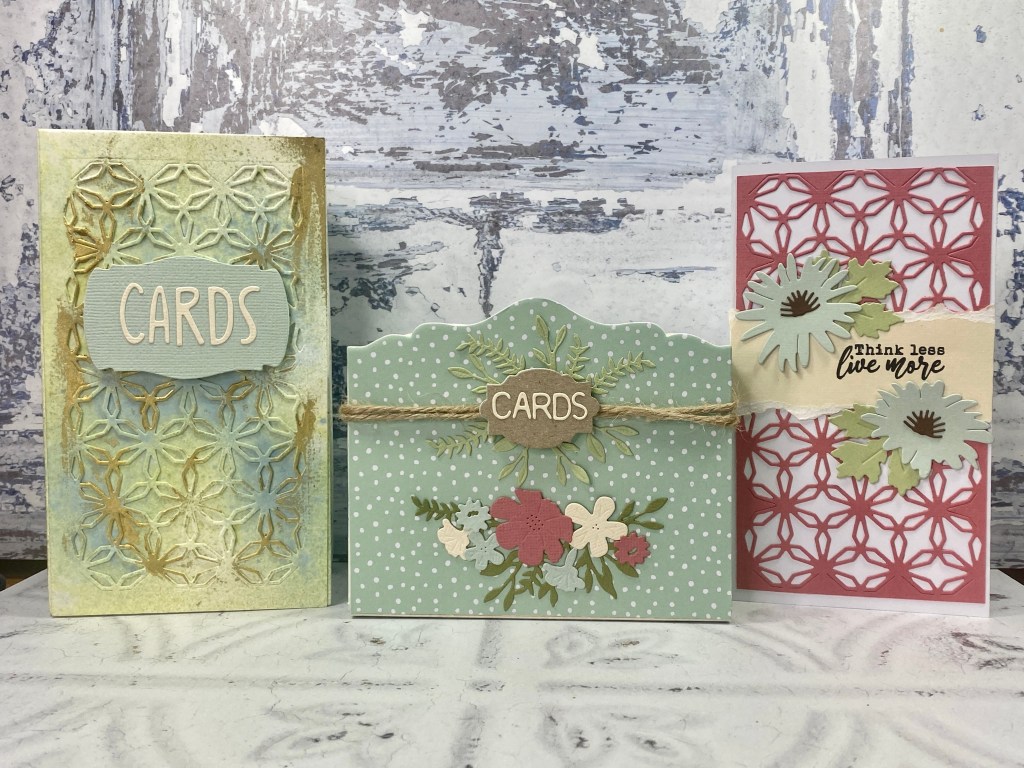
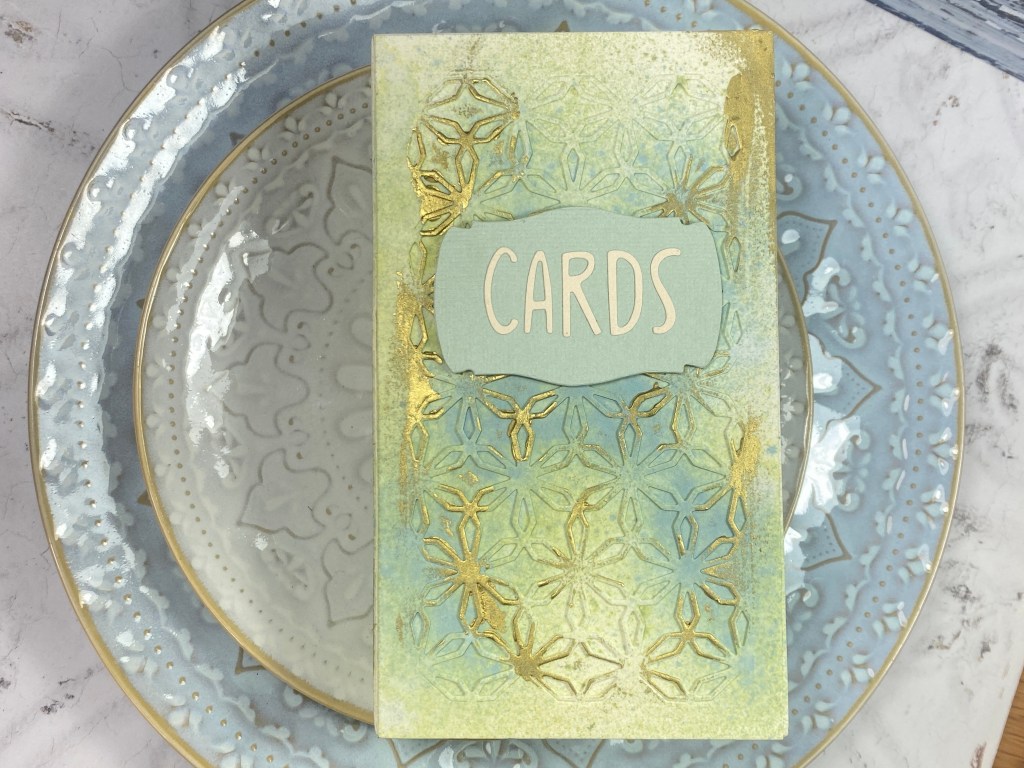
The ScoreBoards Skinny Mini Book Box is a really great size- it measures 6 3/4″ x 4″ with an adjustable built in spine from 3/8″ to 2 1/4″. This die may be used to create a book by die cutting two covers OR a box if you add the side pieces to the covers. If you add the box supports, it will hold mini-slimline size cards.
The Skinny Mini Elements Thinlits will cut a cool star pattern that perfectly covers the front of the Skinny Mini book or the front of a slimline card. And you can also expand the size of the design to create a whole page pattern.
I have been wanting to make a Card Caddy die for a while… so many people are making cards these days that I figured that they would love to have the ability to make a really pretty container to hold them. I love the shape of this box and it goes together so quickly- also fun to decorate! It will hold cards up to 5 1/4″ wide.
The 3D folder is called Woven Leather and it looks so realistic! Makes a great background for cards, journal pages or covers”.
I’m already thinking that card caddy’s filled with cards would make lovely Christmas presents, so that’s something else to add to my ‘to do’ list!
I’m also very happy to have another journal option – I absolutely love making journals, and how lovely does the Skinny Mini Elements die look on the front?
It also looks beautiful on a card front (and of course the card fits nicely inside both the book and the caddy).
SO NOW FOR THE IMPORTANT INFO!
There’s a blog hop to celebrate the launch as well as a FB live. Pop over to Eileen’s blog for all the details. There’s also some prizes, so make sure you catch the live!
I’ll be on Create and Craft TV on the 22 August with the release, so you can expect to see more creations and inspiration from me over the next couple of weeks.
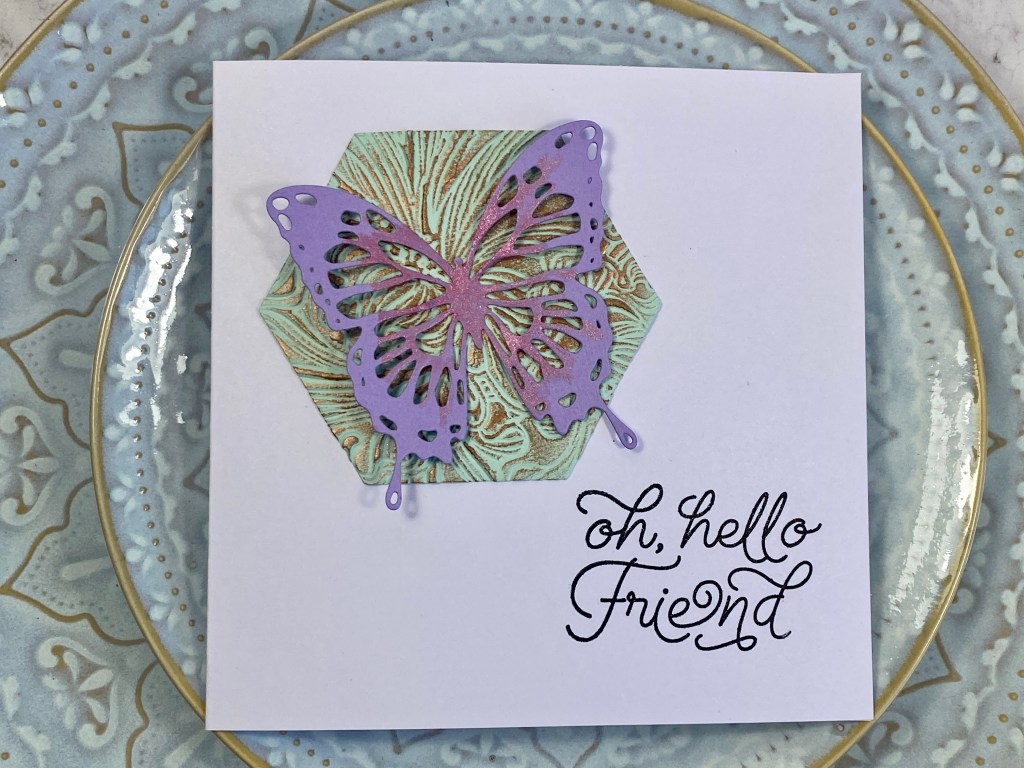
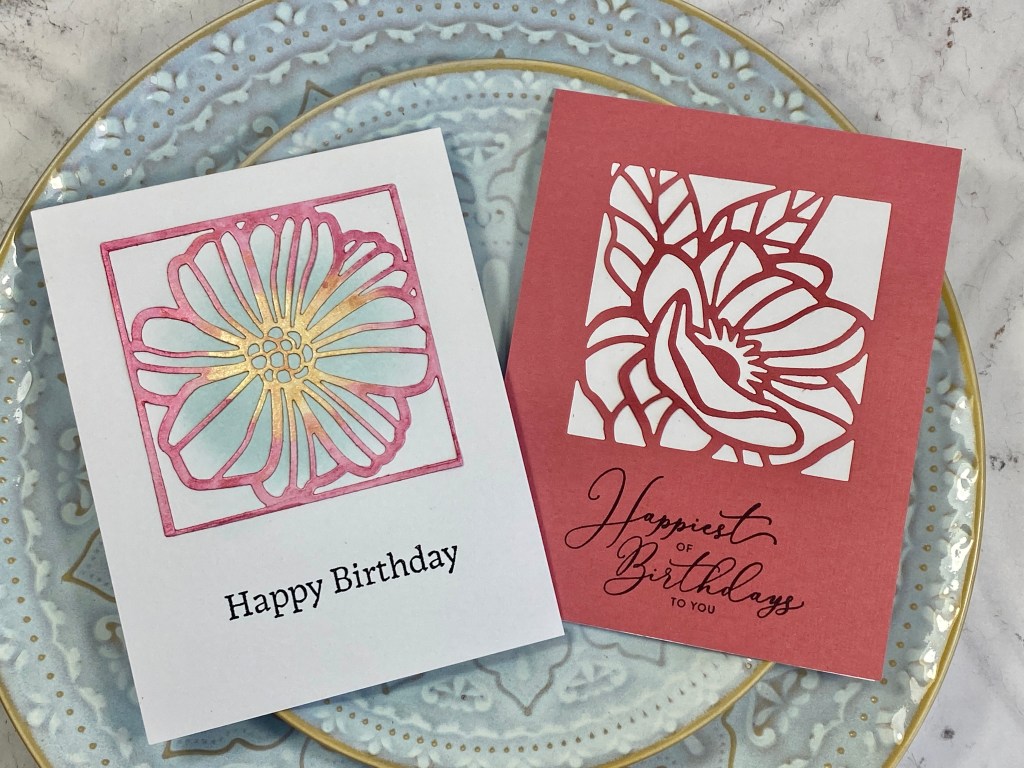
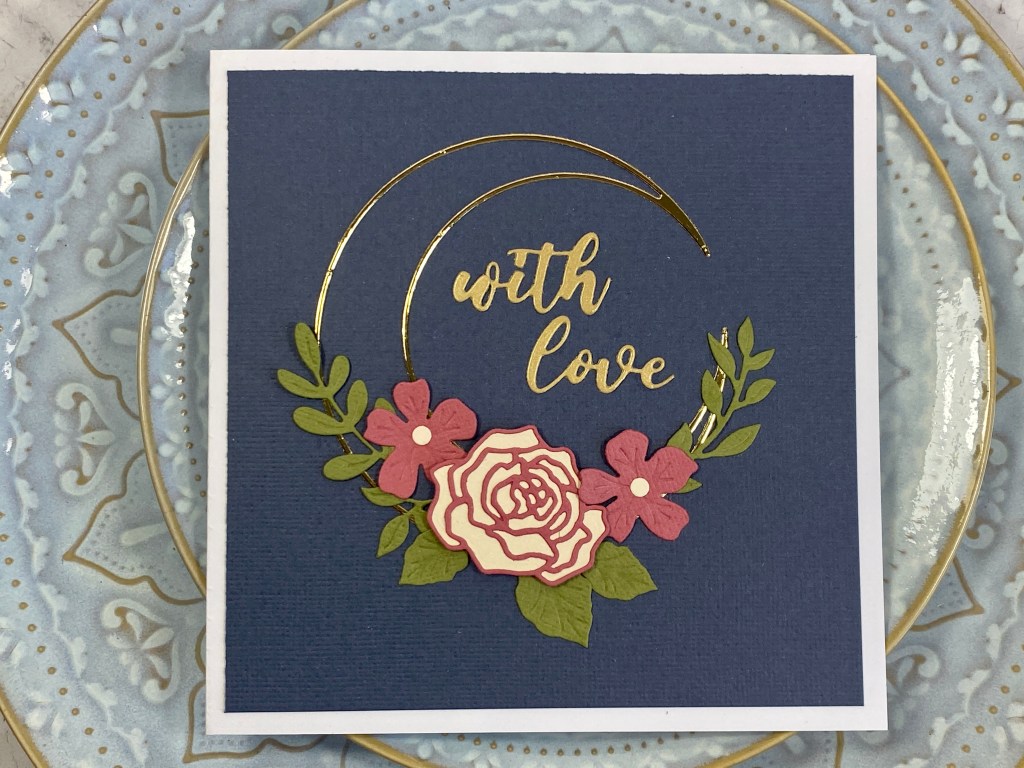
I’m at Create and Craft TV this Friday with some of my favourite Tim Holtz dies. I obviously love the floral dies, as florals are always my faves, but the bold sentiments are so great to work with them – or for quick cards with a nice bold sentiment, I just love them.
I’m starting my regular card making classes in Bromsgrove again, and I can’t wait!
The first class will be Saturday 16 July, 10am to 4pm. I do currently have a couple of places left so if you’re interested please email me – backdated@hotmail.com.
This class is all about general everyday cards – and you’ll notice a few of these will work for men as one of my ladies requested some ideas for men (always the most difficult to make I think).
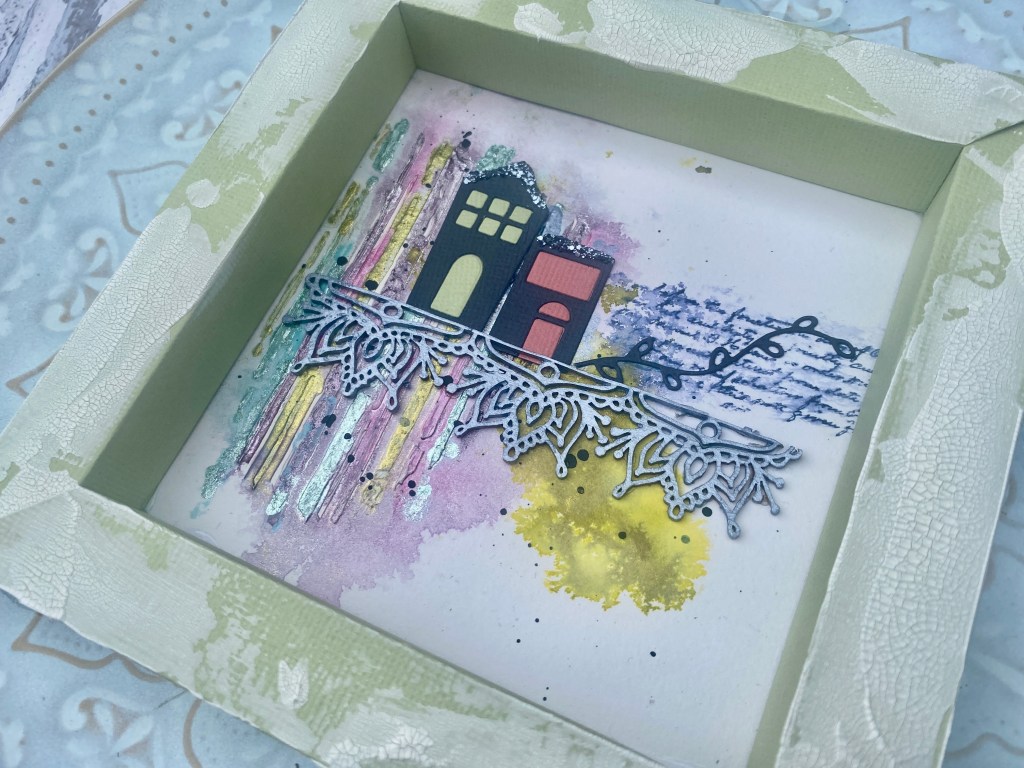
I made this lovely framed piece recently for a Facebook live, so thought I’d share some instructions on making it.
I used the largest frame die from the Shadow Box #2 set for the frame, and cut it four times to make a square.
This frame measures 15.5cm x 15.5cm, so I cut a piece of kraft card that size for the backing, then added some pale aqua card to the front.
I then used a Tim Holtz stencil (THS004) to add some uneven stripes with Sizzix Texture paste. I then added some Prima Sparks acrylic paint on top, in a rainbow. For the rest of the background I did a little bit of stamping in brown ink (Tim Holtz Papillon and Studio Light Jenine’s Mindful Art Collection). Once the ink had dried I dry-brushed some gesso on the background.
To create a little ledge for the houses, I cut two strips of mat board and stuck them back to back, then covered with a piece of frayed burlap. I cut the houses from kraft card and backed them with some patterned paper and an old book page. I added them with foam pads to give a bit of dimension.
I then dry-brushed some gesso on the frame, on the front and sides, then added some Tim Holtz Crackle Texture paste with a spatula and set aside to dry.
Thanks for popping by today, I’ll list below the main products used.
I’m back to share some more shadow boxes ahead of my Sizzix shows on Create and Craft this Thursday and Friday. It’s a One Day Special, so I’ll be on at 6pm and 9pm on Thursday 19th, and 10am and 2pm on Friday 20th. Hope you can join me!
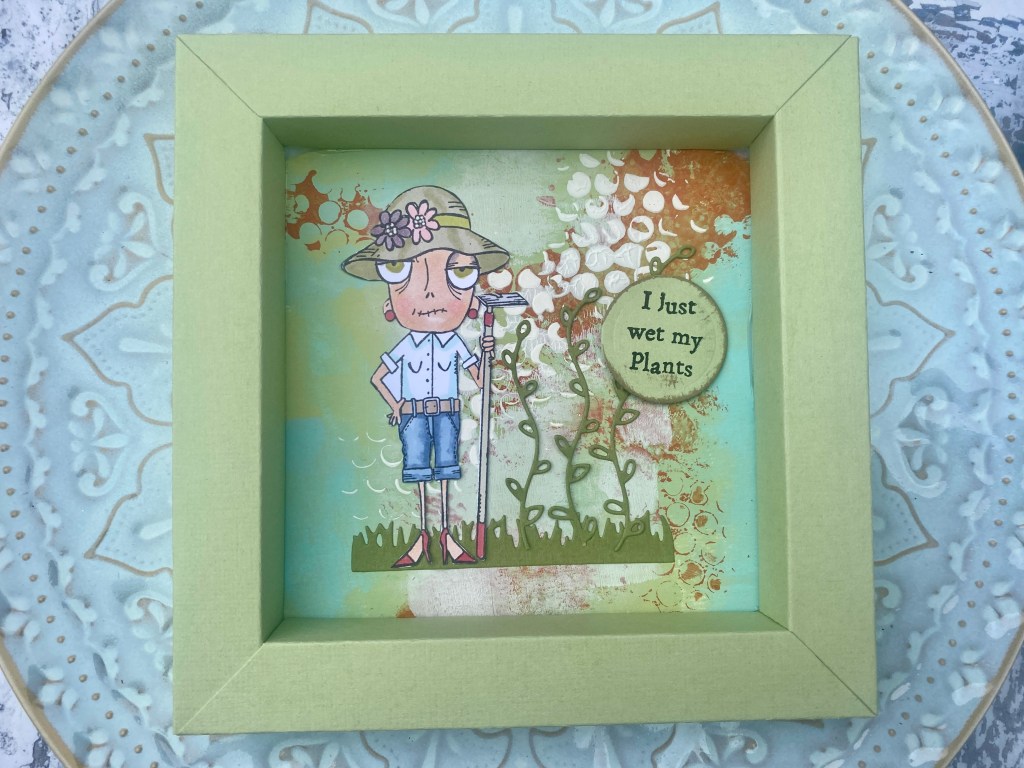
Of course, you don’t have to use die cuts with the shadow boxes, they are great for creating frames for your favourite stamped artwork. For this one I used one of the Miss Dee stamp sets by Aall & Create as I thought this one in particular worked really well with the dies.
Gosh I’m so excited for these shows. I have been so happy making all these projects. I have literally not left my craft studio the whole week I was making them except to eat and sleep!
So this is the Chapter 2 release from Eileen Hull, and unusually for her, this release doesn’t have any Bigz dies, there are 3 thinlit die sets, along with a stunning 3-D embossing folder called Crochet.
There are two sets that include the different size ‘sides’ to the shadow box. Shadow Box 1 allows you to create a small square frame, then Shadow Box 2 has a medium and large die, so you can create a landscape frame (as above). But of course, you can interchange the sizes, and say, just use the two longer sides of this one to create a larger square frame.
Then there’s a set called Shadow Box Elements that has some gorgeous little houses along with lots of other dies to decorate your frames. There are also extra elements in the frame sets.
I love the variety of elements in these sets, and the houses are just adorable. They are just as fabulous on cards as they are to create shadow boxes.
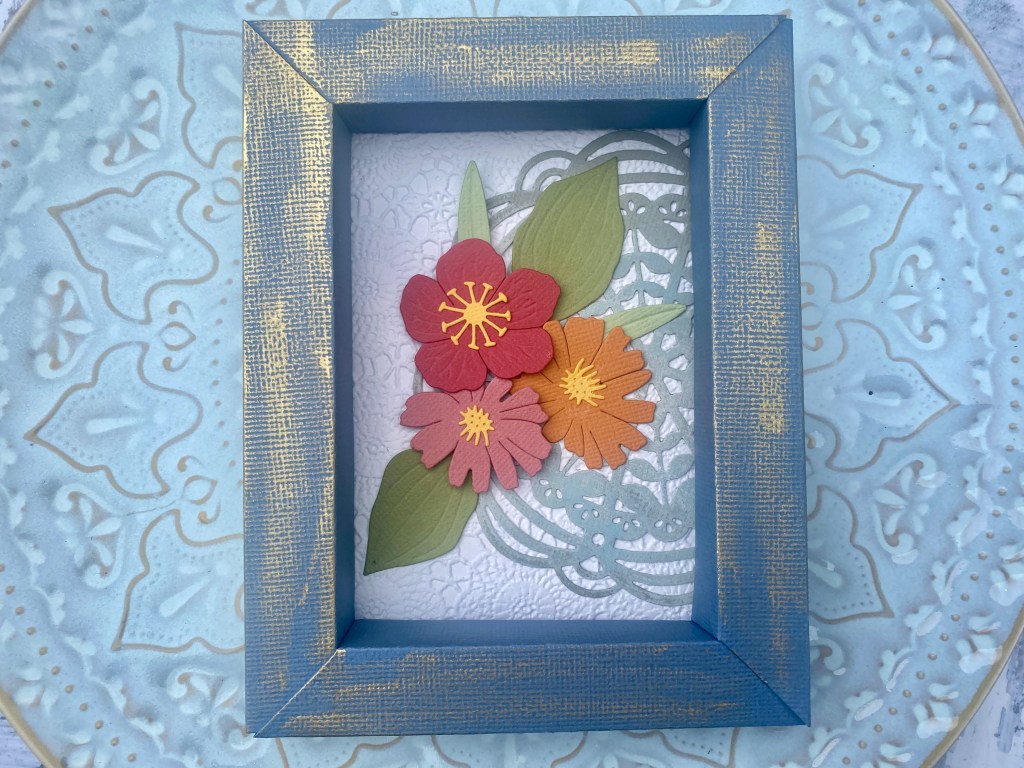
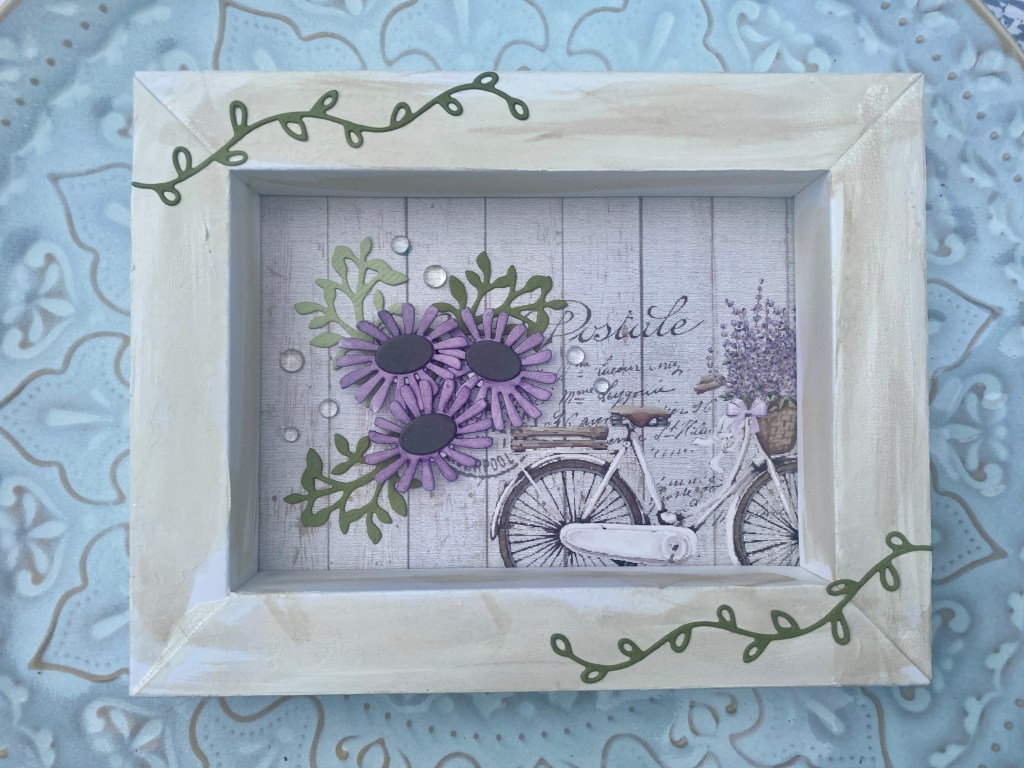
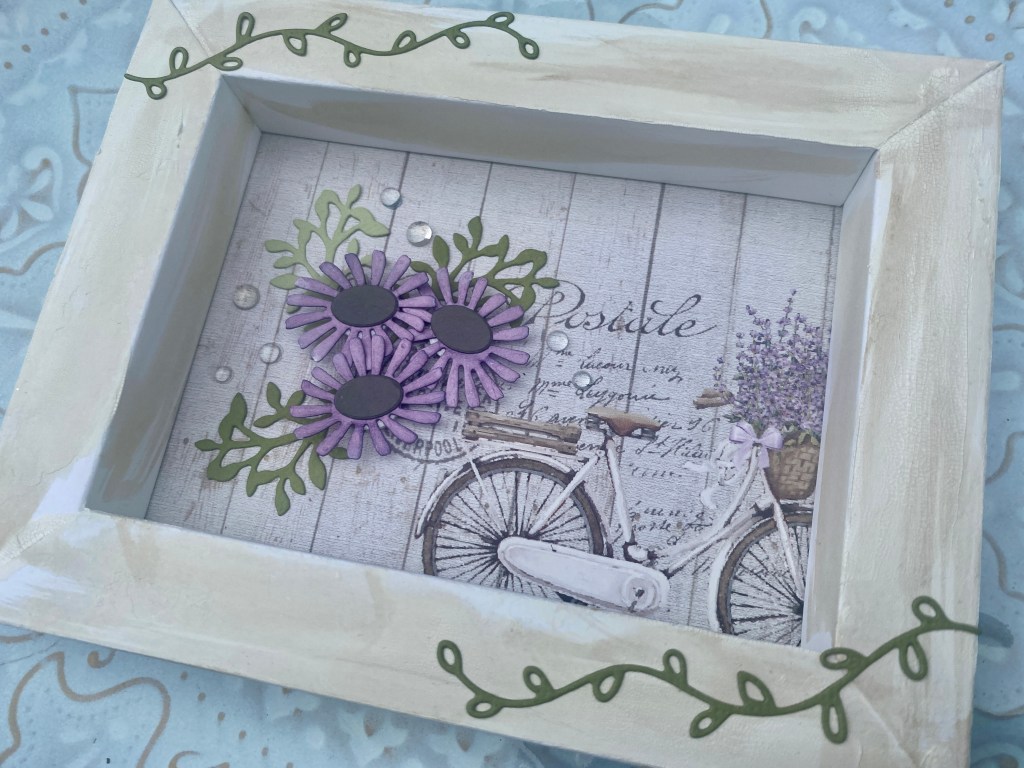
They also work so well with other die sets – for this square frame I used the largest shadowbox die and the Wild Blooms 1 die set.
I kind of replicated the project from the packaging photo for this one – it shows off all the little elements really nicely.
I’ve got lots more projects to share, so will pop back soon with more!
Eileen has some beautiful dies in this latest Chapter 2 release from Sizzix. I haven’t had a chance to play with them properly yet, but I do have shows on Create and Craft in May with them, so I’m looking forward to making lots more projects.
For today though, this is the first project I’ve made.
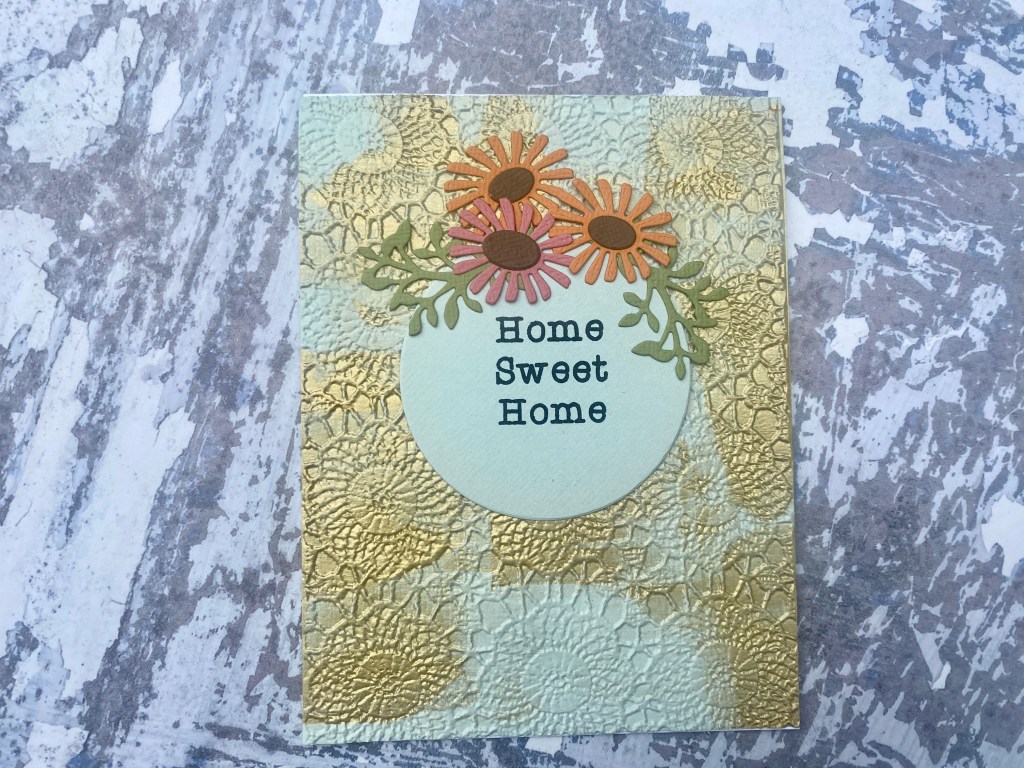
I used the Shadowbox Frames #1 die set together with the Crochet Mandala embossing folder, and the ‘home’ label is from the Shadowbox Elements set.
I went for a very simple colour scheme for this one. As it was my first time working out how to use the shadowbox dies, I used some cream card to cut the frame. (Creative Expressions Coconut White card).
It’s so simple to put together, you just cut the die four times, then fold on the score lines, and add red line tape to the tabs. It literally takes seconds.
I decided to cut a piece of the same card for a background, embossed with the embossing folder. That way it also looks really pretty from the back.
Then I decided to decorate with flowers and leaves from the set, sticking with a really muted colour scheme. I added three flowers to the centre – two are popped up on foam tape to give some dimension, then I added some of the leaves to the corner of the frame, along with some little dots of Tonic Nuvo Drops to look like little shiny pearls.
For the Home label, I used the elements from the Shadowbox Elements die set, and inlayed the letters back into the label in a pale pink. I just love the colour combo of the pale pink and kraft card.
I can’t wait to start playing with the larger shadow box now. Especially since Sizzix have some lovely new cardstock in muted tones – I think it’s going to work so well with these dies.
I’ve listed all the products below, thanks for stopping by.
Affiliate links are used at no cost to you
Sizzix Big Shot Switch Plus Electric die cutting machine white Shop at: SSS | SZ | AZ | CS | SBC
Sizzix Big Shot Die Cutting machine Shop at: SSS | SZ | AZ | CS | SBC
Sizzix Big Shot Switch Plus Electric die cutting machine Tim Holtz Black Shop at: SSS | SZ | AZ | CS | SBC
Sizzix Big Shot Switch Plus Electric die cutting machine cherry blossom Shop at: SBC