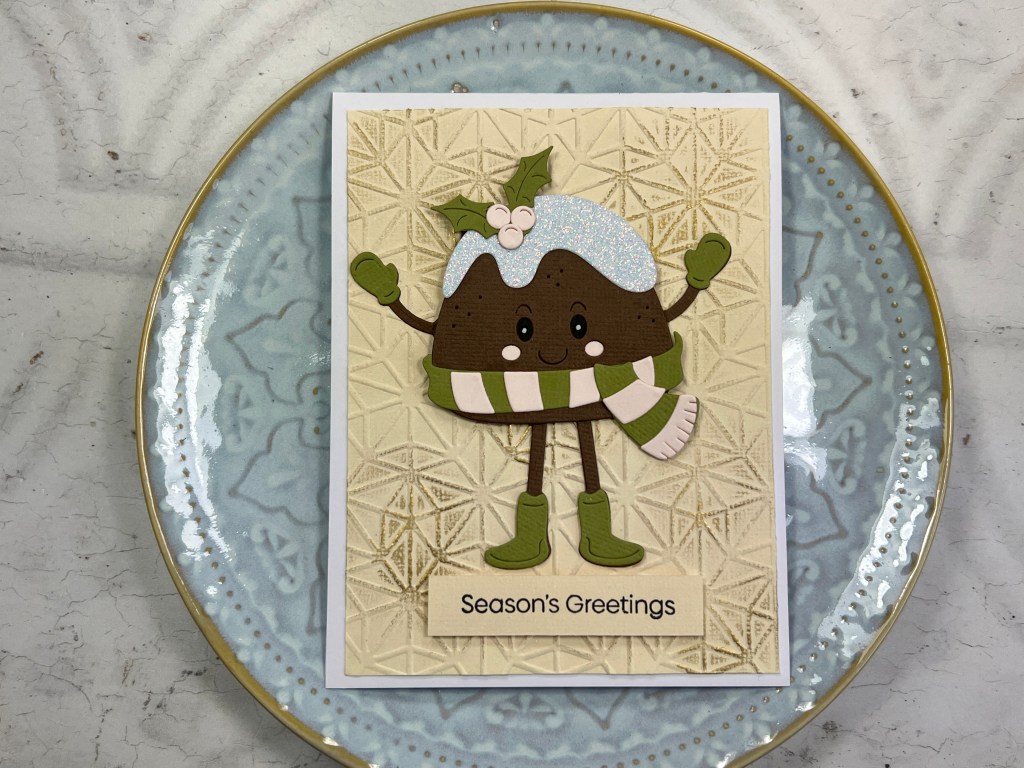
My next class is coming up soon, and it’s a mix of both Christmas cards and some general occasion cards. I know everyone will love this little Christmas pudding as his legs swing side to side which is fun.
I do still have a couple of places left, so if you’d like more info just email me on backdated@hotmail.com
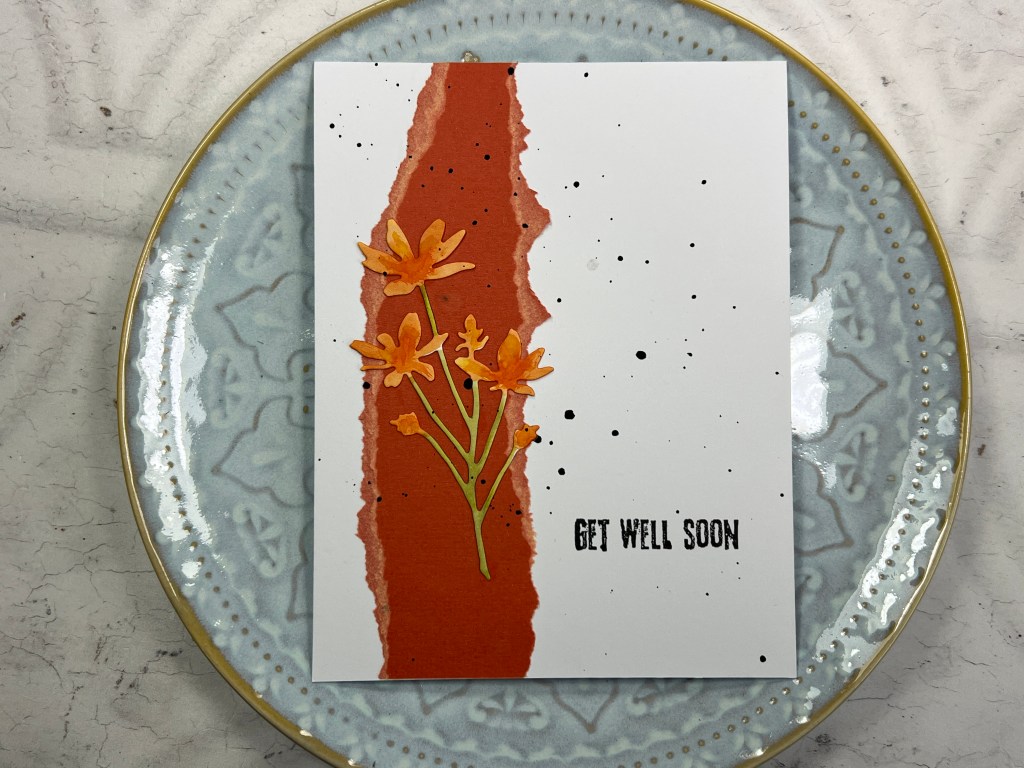
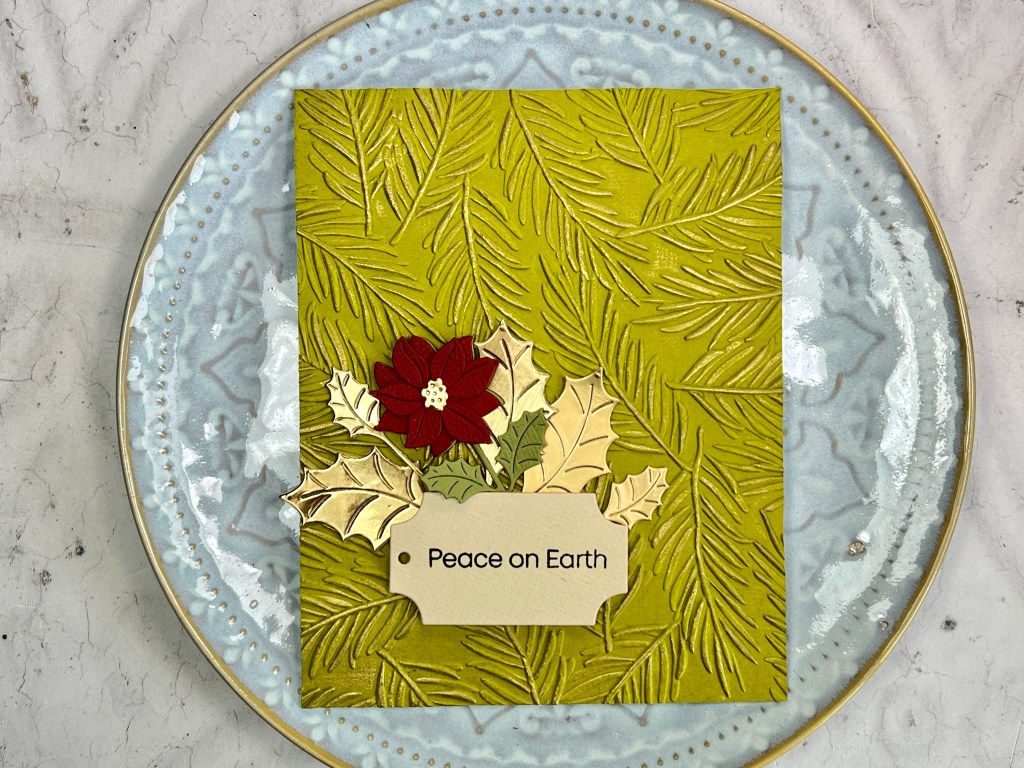
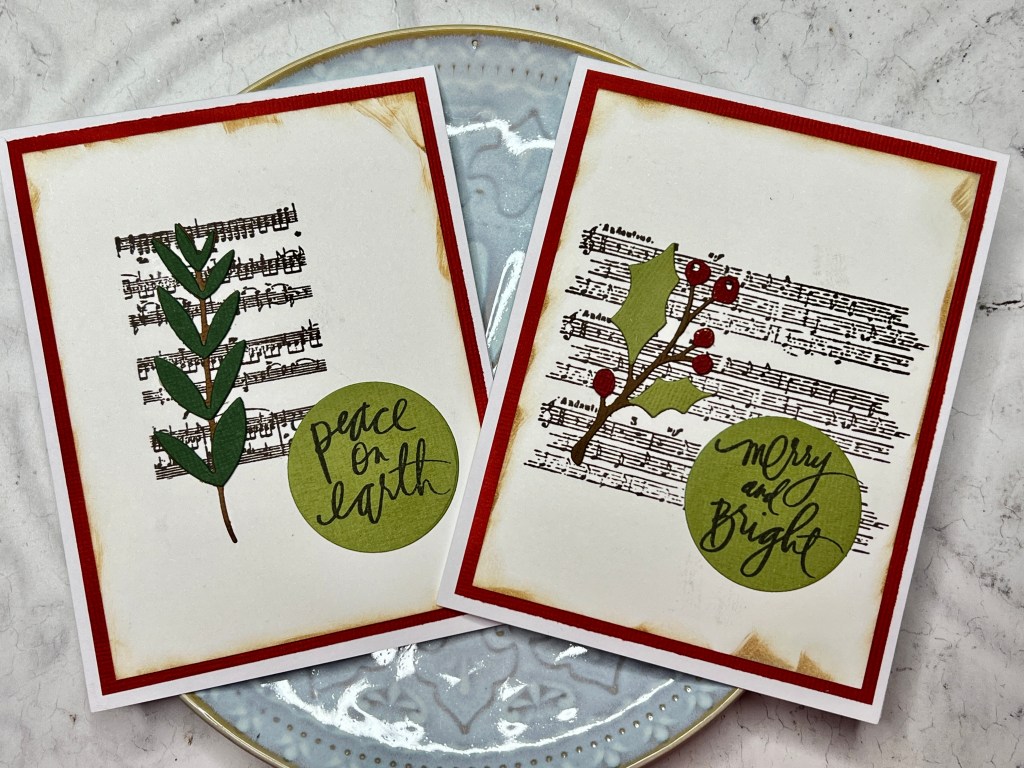
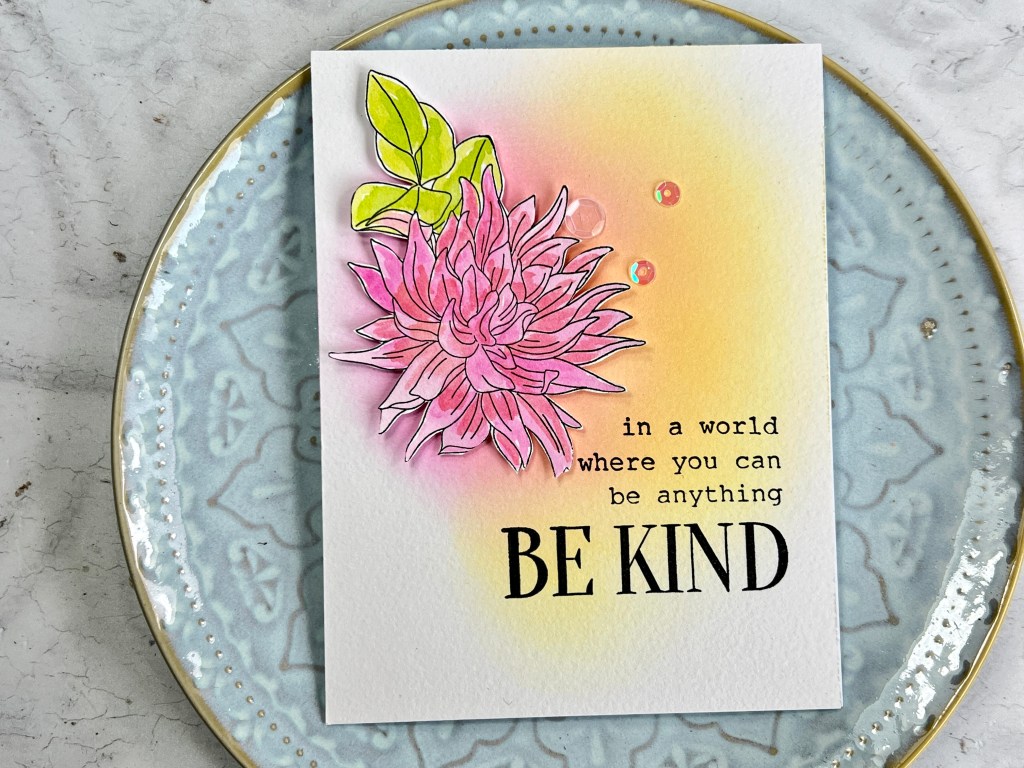
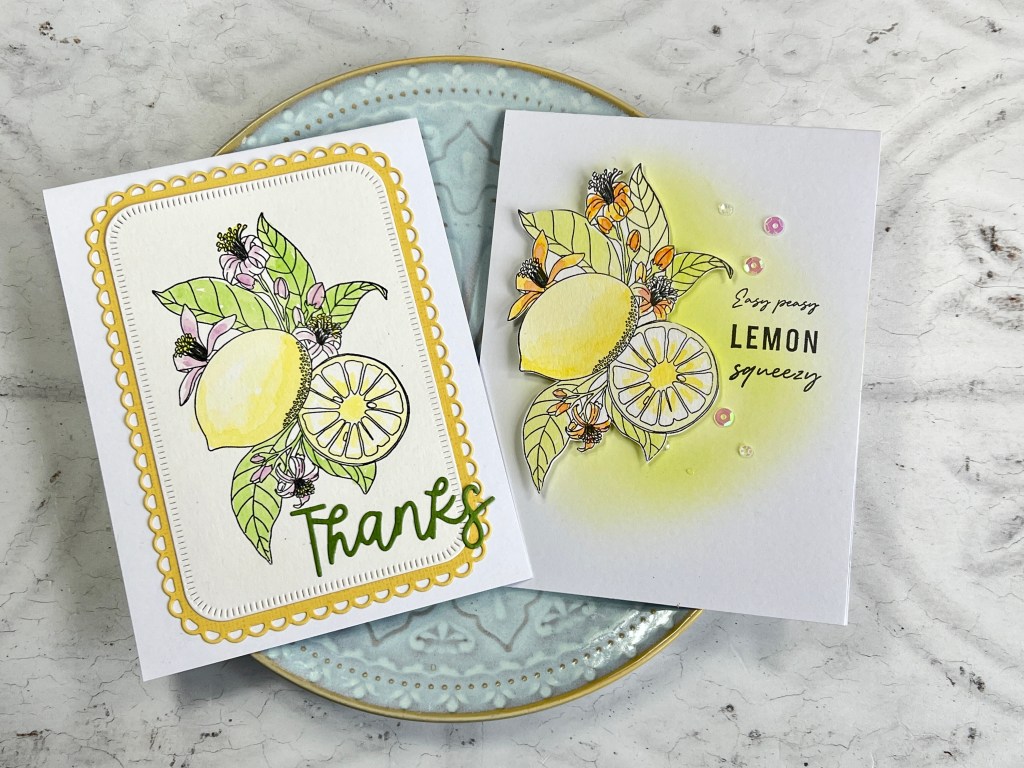
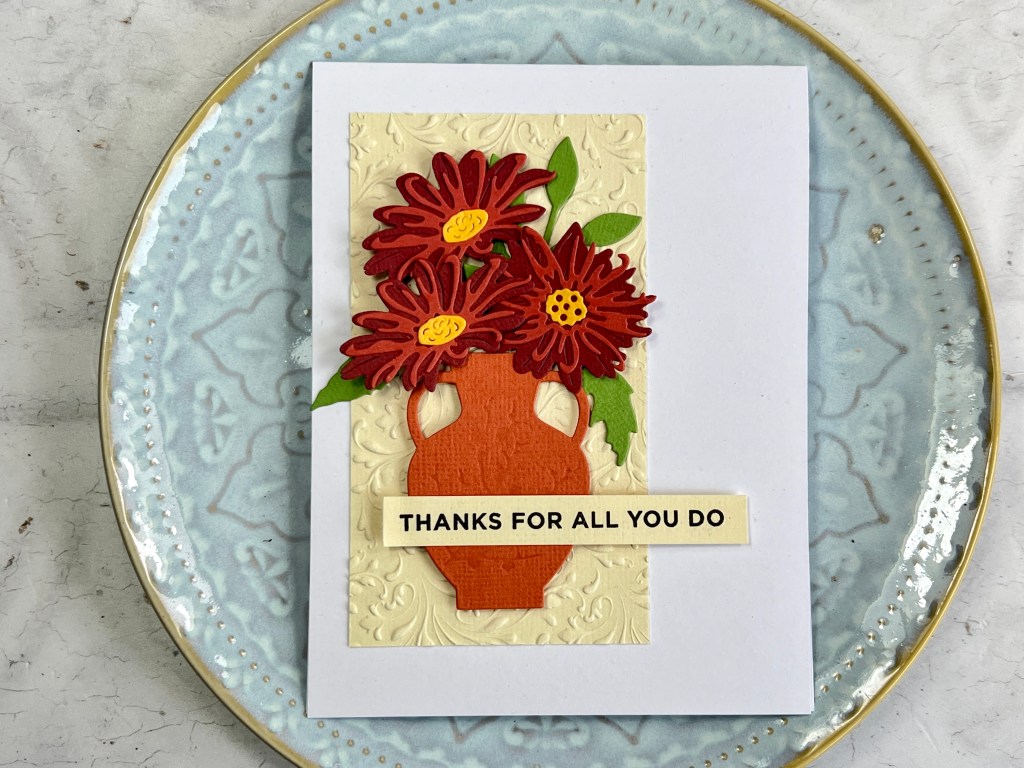
I have a few cards to share with the latest release from Spellbinders. It’s a lovely mix of elegant and fun!
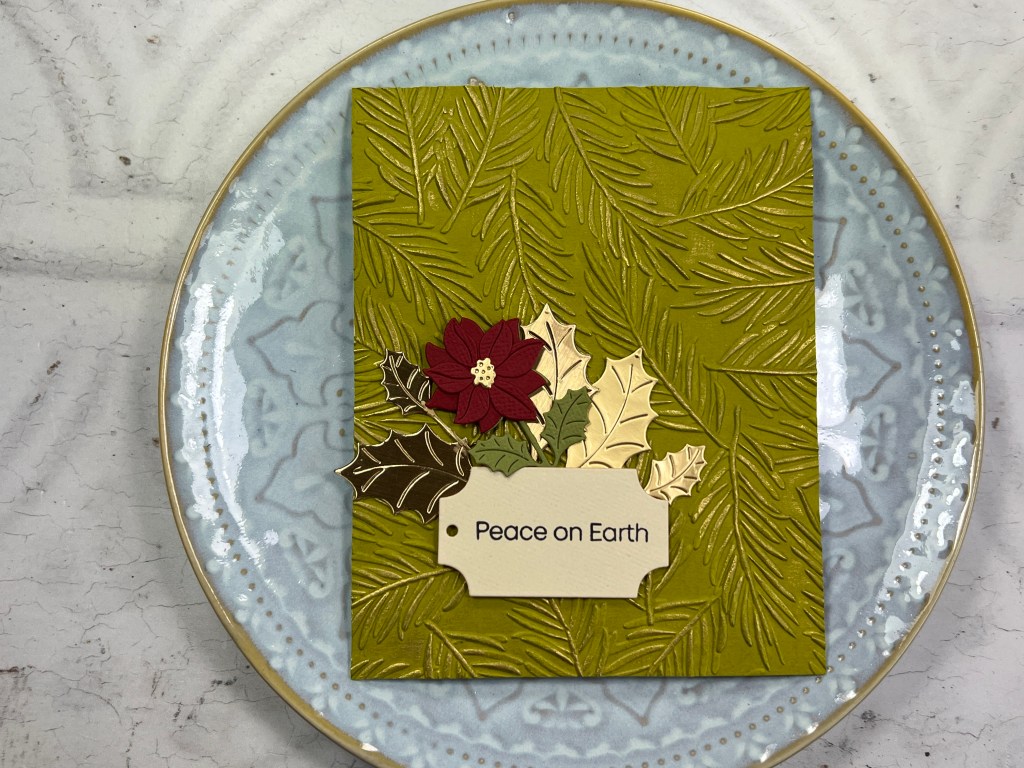
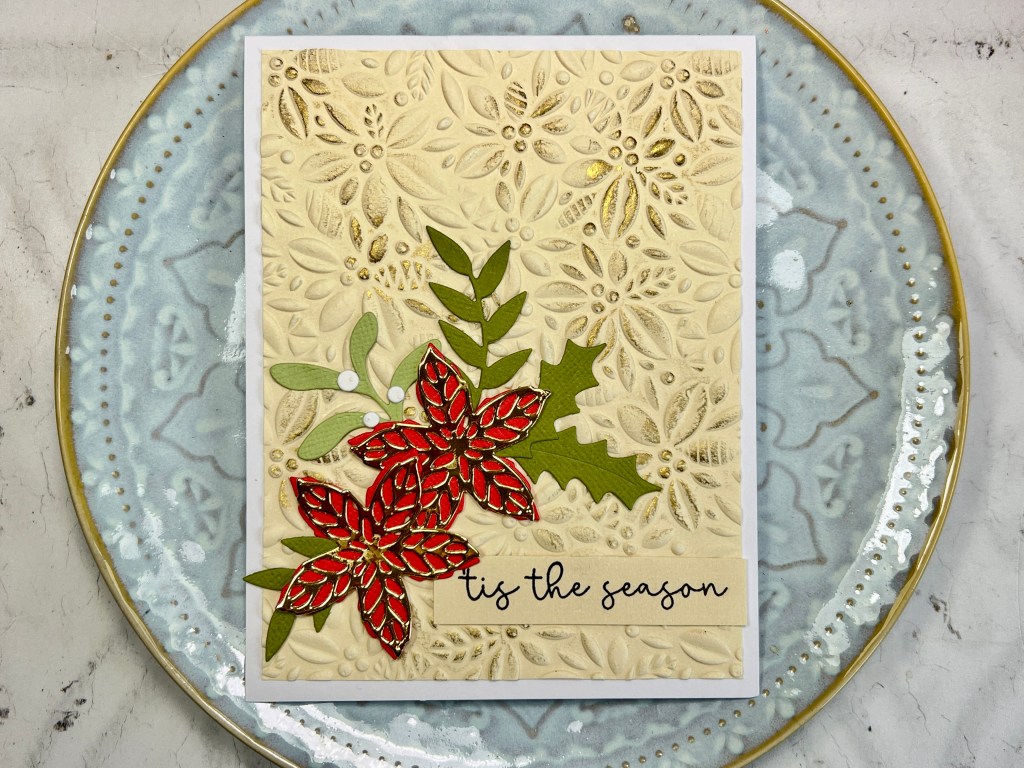
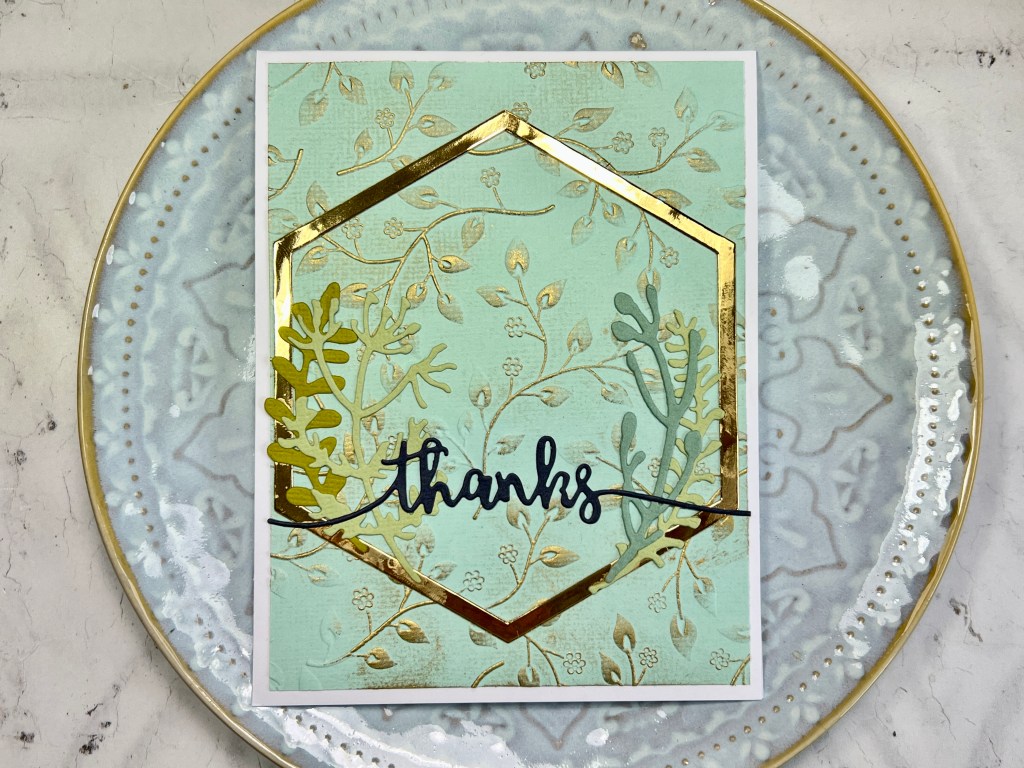
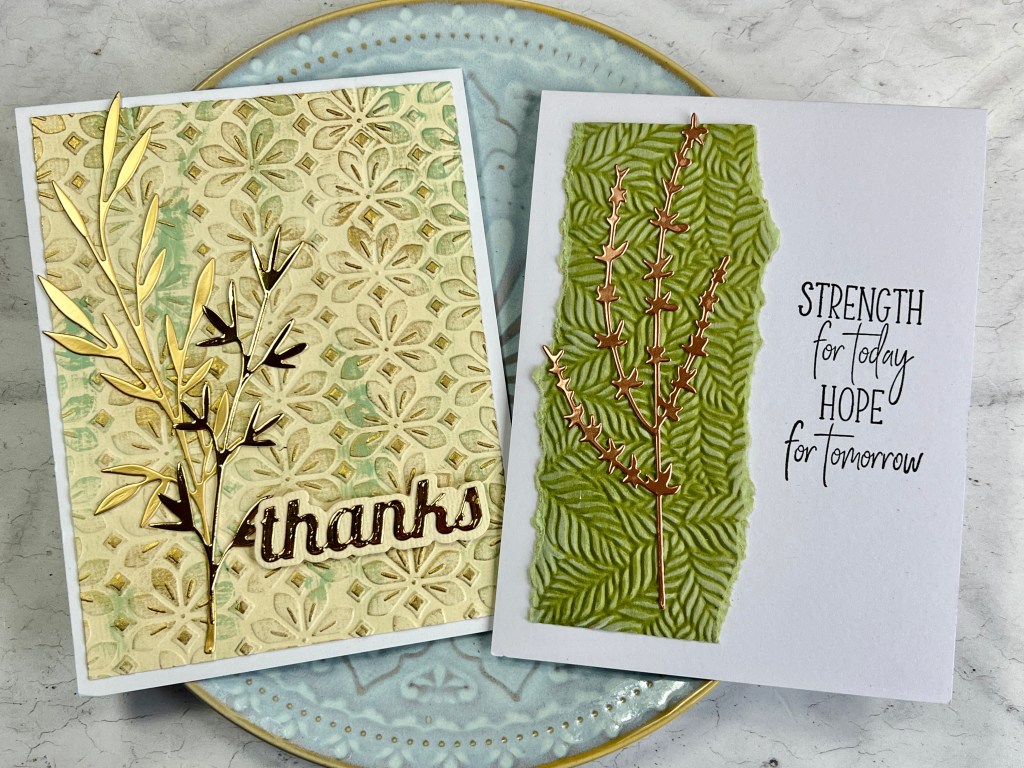
This first card is very elegant, the Evergreen embossing folder makes a rich background, then I’ve added some of the Christmas Sprigs in gold, green and red.
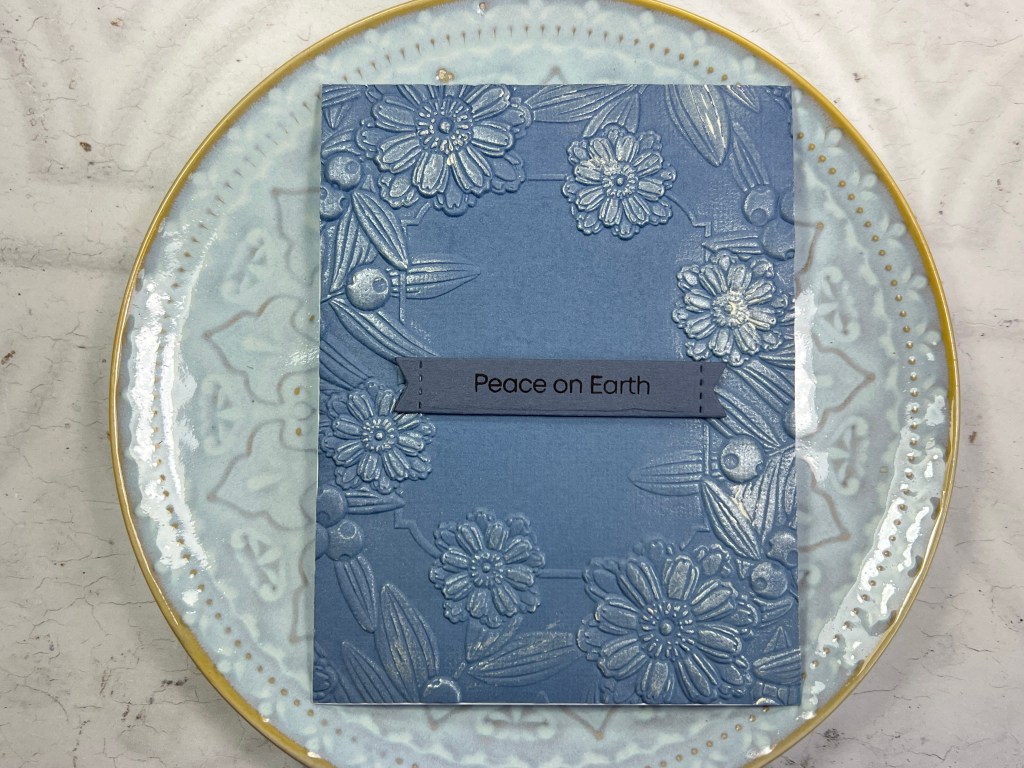
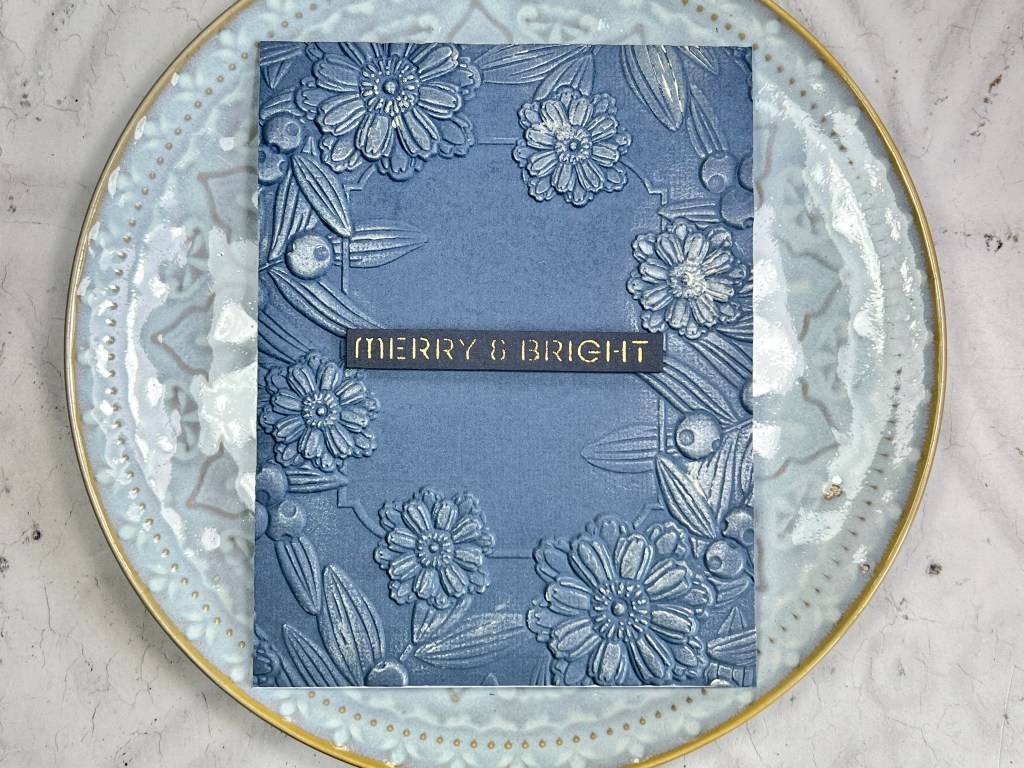
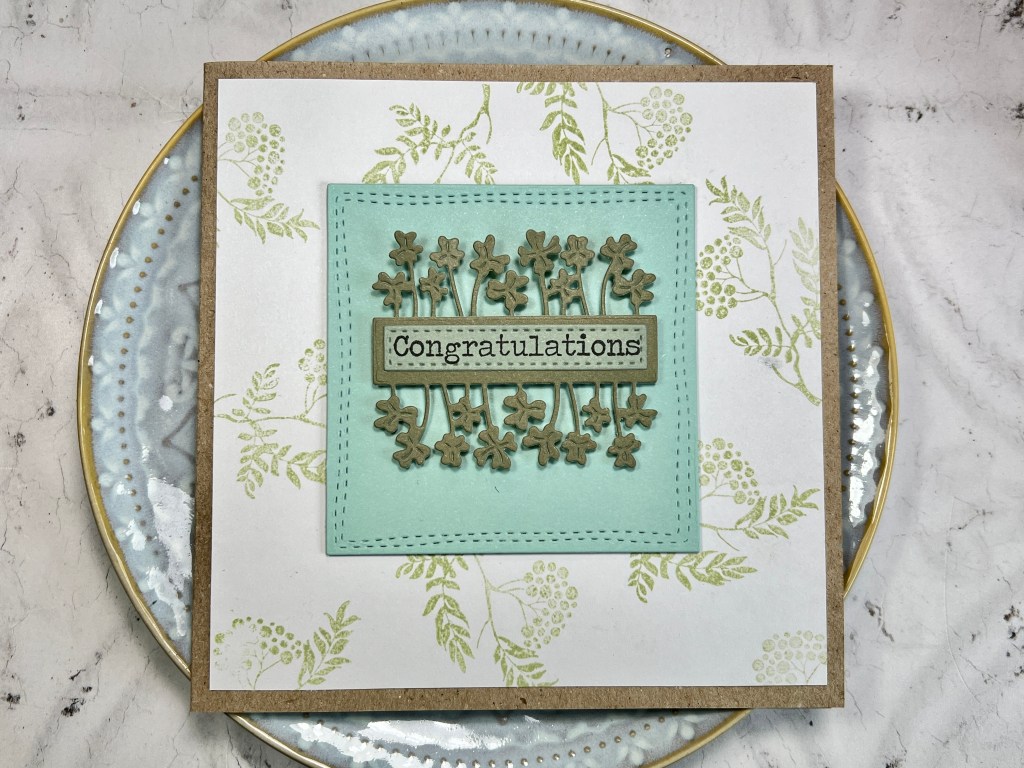
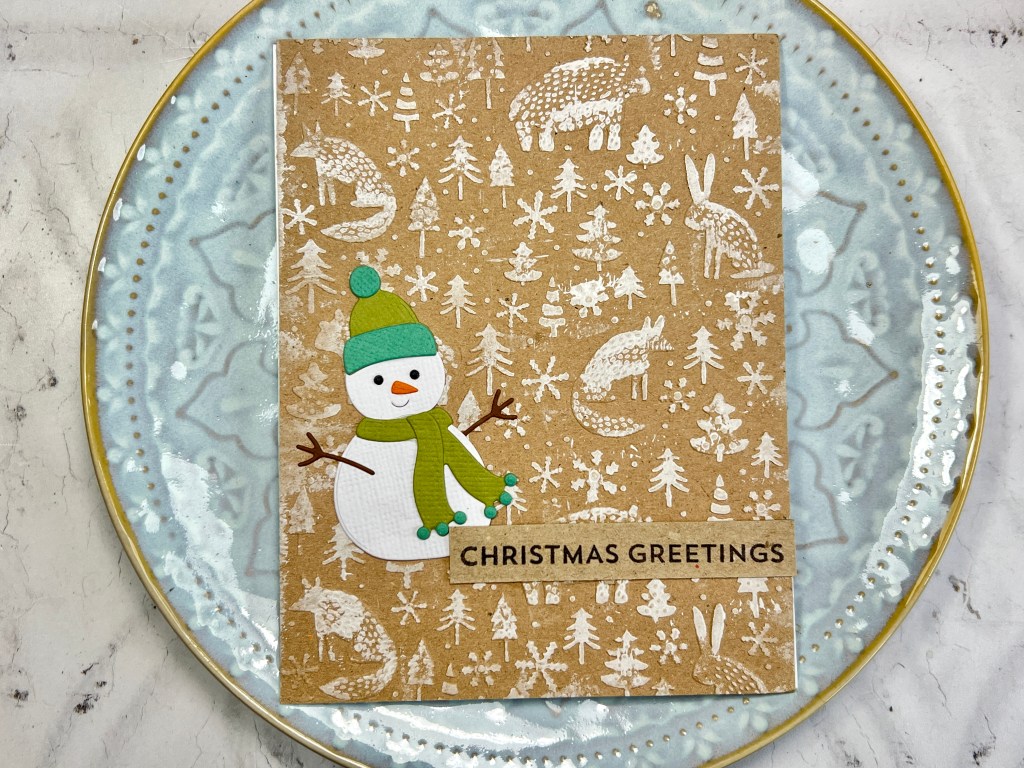
Another elegant card, but this time with a cooler colour scheme. I used the Notched Corner Florals embossing folder and added a simple sentiment.
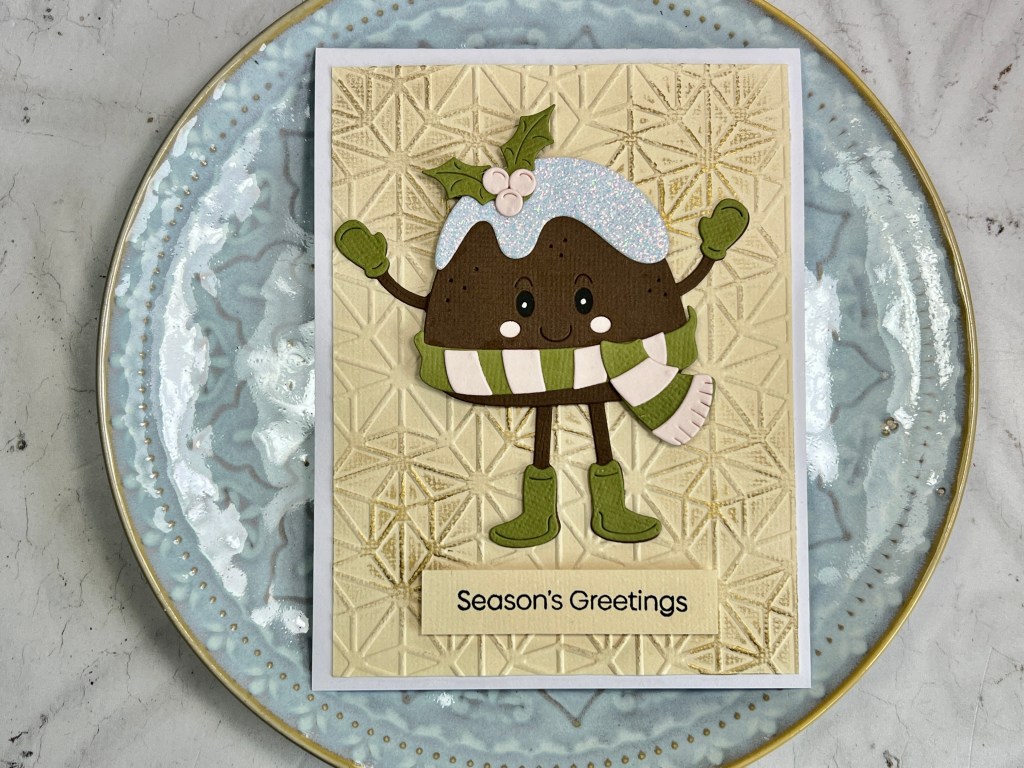
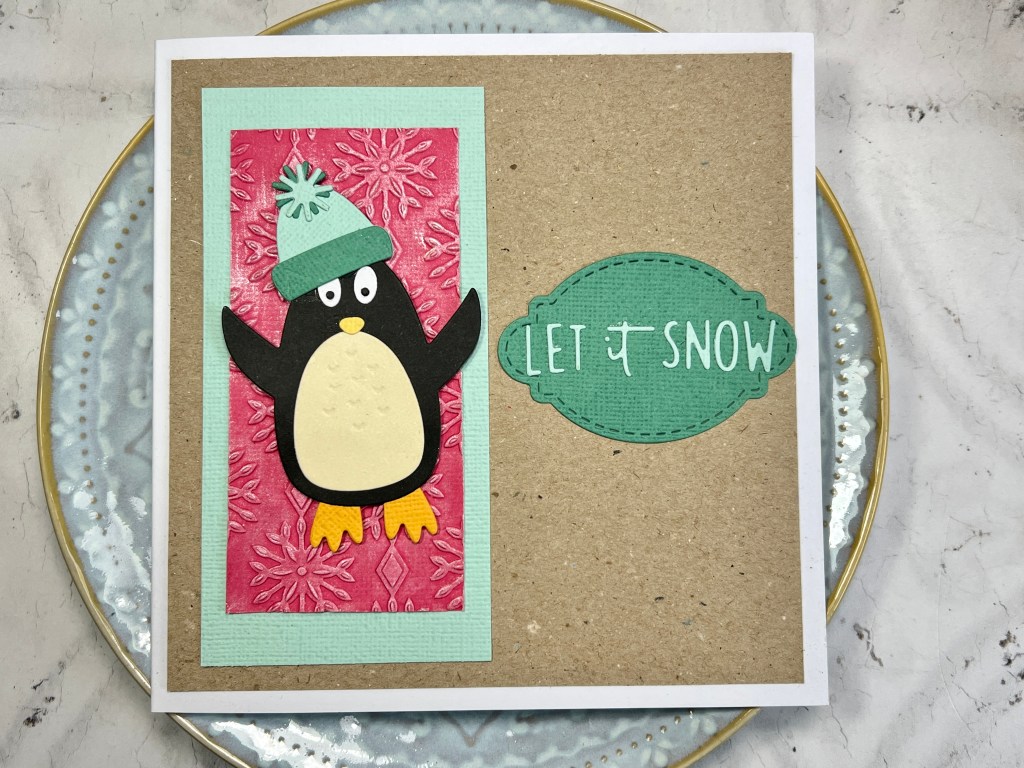
Now for fun! This cute little figgy pudding is really fun, the legs swing, which makes a lovely interactive card. The background is the Monoline Stars embossing folder, and I added just a little gold luster wax here and then to highlight it.
You can find all the product details below! Thanks for popping by.
I’m absolutely delighted to be taking part in this amazing event with 28 other Crafting Experts. It’s a fabulous idea, and just the kick start we all need to get going with our Holiday/Christmas cards.
The idea for the event is to help you by providing inspiration for cards that use minimal supplies, the idea being that, that way you can hopefully use things your already have and get your holiday cards done and dusted with no stress!
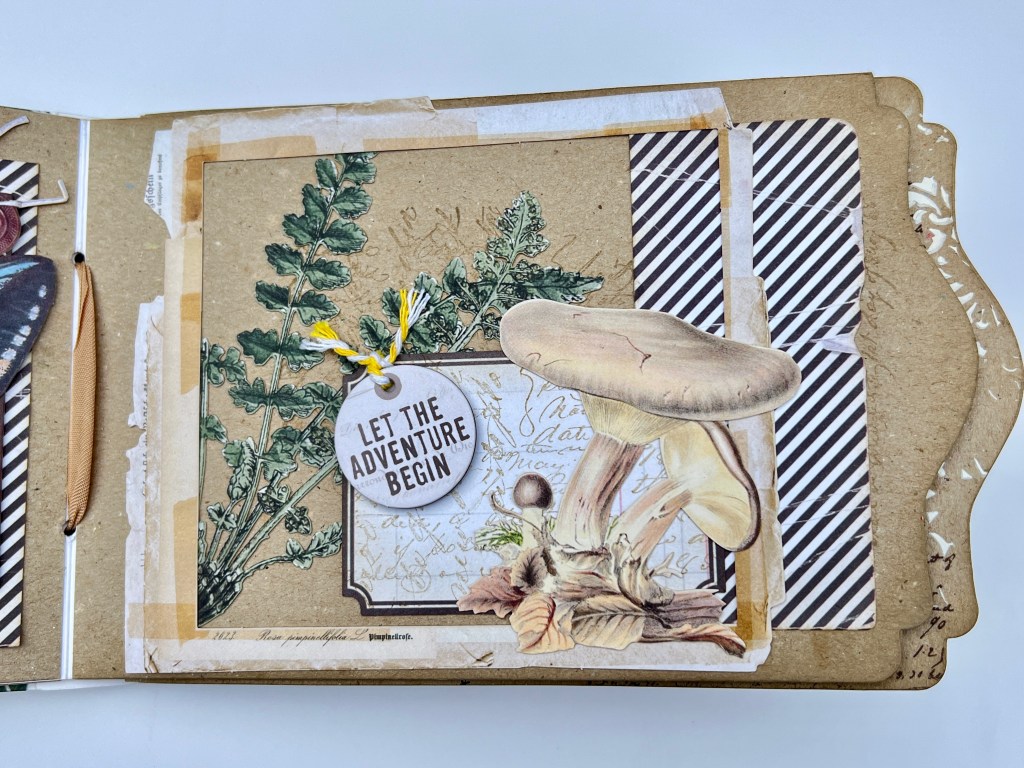
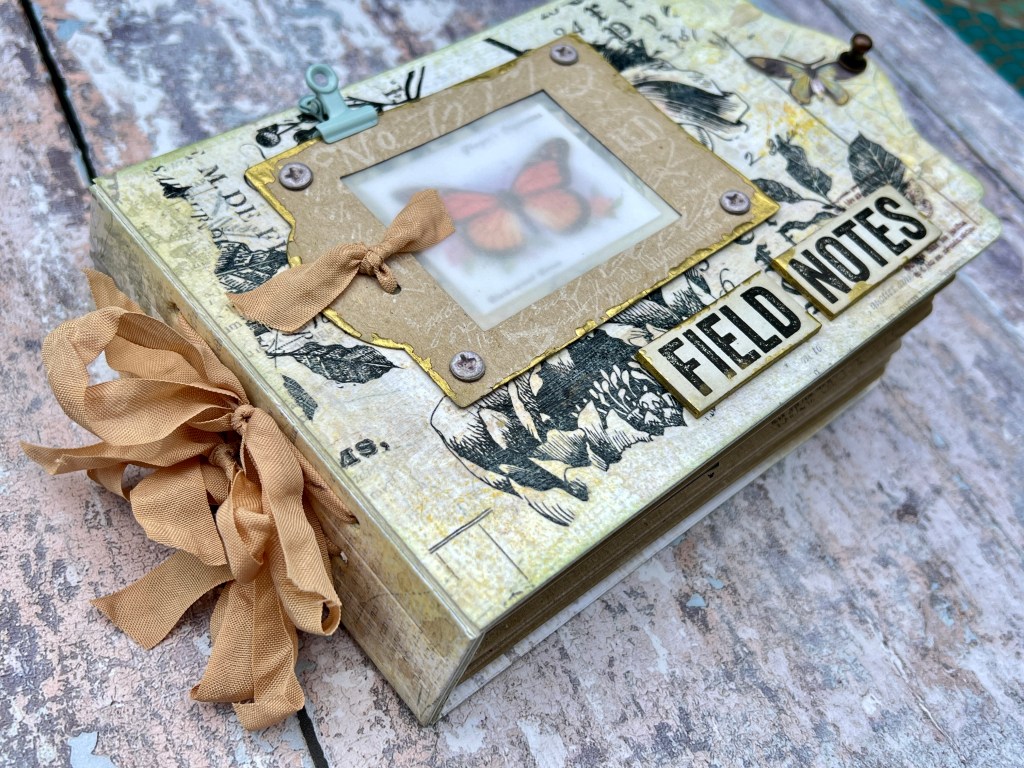
I can’t tell you how obsessed I am with this new journal die from Eileen Hull. I love all her journals, but this one is now my favourite. I really like the design, and the landscape format (of course you could flip it to have a top folding notebook if you prefer).
When mine arrived, I instantly knew I wanted to create a journal following the Field Notes theme, full of botanicals and butterflies, and incorporating so many of my older stamp and die sets.
I’m warning you now – this blog post has a LOT of photos. I went totally overboard with this one – I couldn’t put it down for nearly a week, and even now, I feel I’d like to go back and add some more to it!
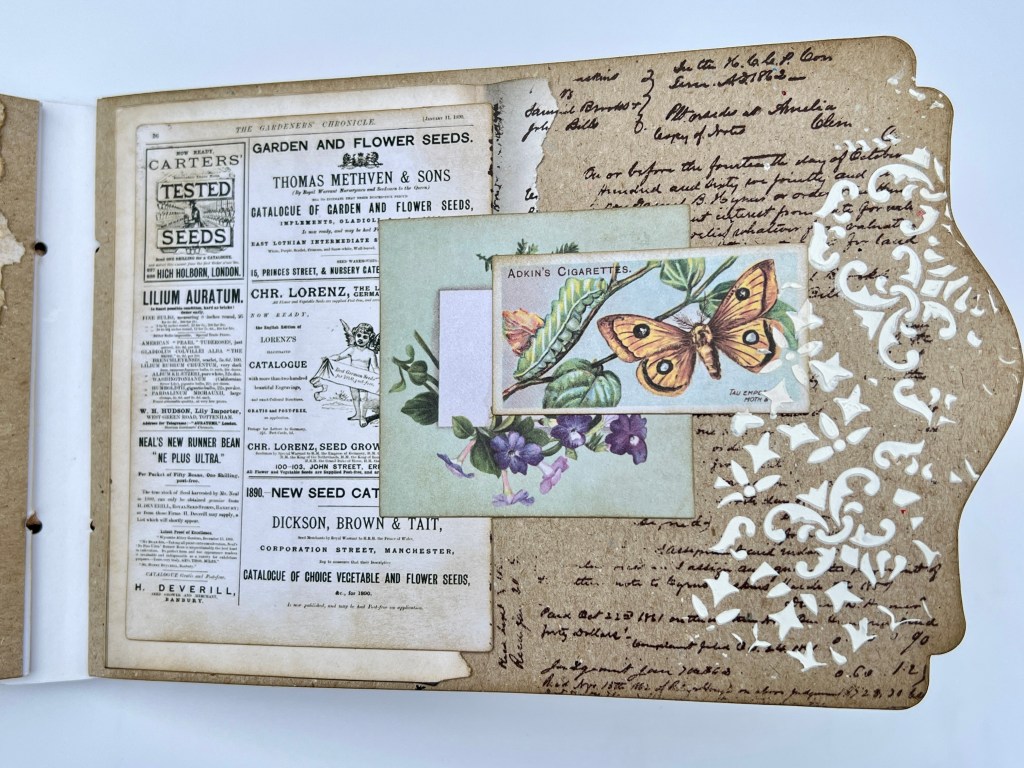
So on the front cover, I used the frame that comes with the journal and added some vellum behind it, then a little butterfly cigarette card. The papers I used throughout the journal are from 49 & Market, and I also added some Tim Holtz collage paper and chipboard sentiment.
Inside the front cover, more 49 & Market papers, together with the little folder from the Envelope, Folder & Flowers die set. The stamps are Aall & Create, and I added a few little bits of ephemera into the folder.
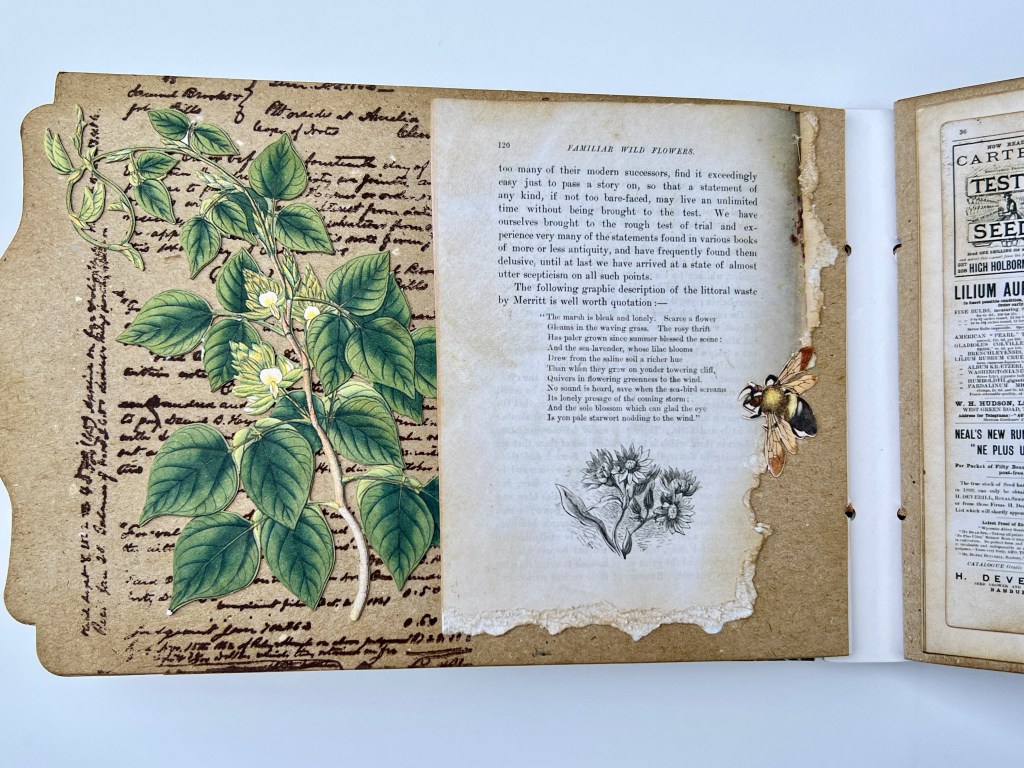
For the pages inside the journal I used the journal die to create pages that had the same shape as the journal. I created a little hinge from cream card, then sandwiched that between two sheets of kraft card so that my pages were nice and sturdy and could take the weight of all the layers.
I had great fun rummaging through my boxes of ephemera that I’ve collected over the years, and it felt good to actually use some of it (I’m terrible at hoarding nice things!). I had bought some chipboard elements to match the 49 & Market papers, and I had a lot of Tim Holtz ephemera and they all worked so well together.
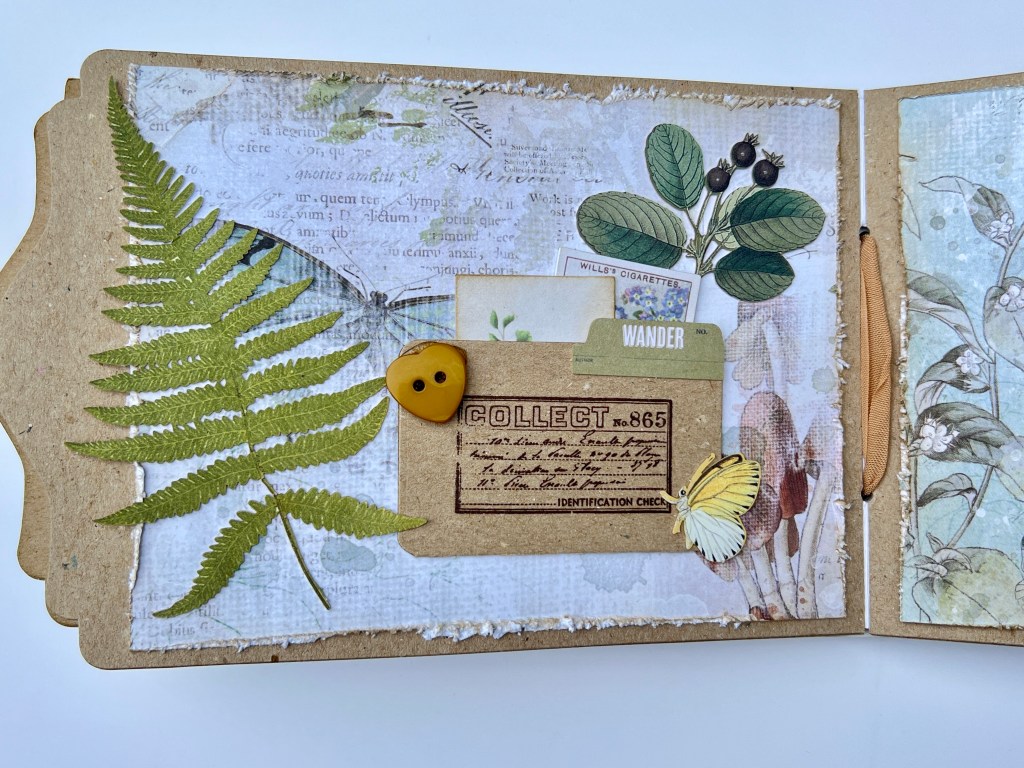
This little folder is from the Tim Holtz Specimen die set – the elements in that collection work so well with this journal.
The flower here is from the Folder, envelope and flower die set, along with a 49 & Market frame.
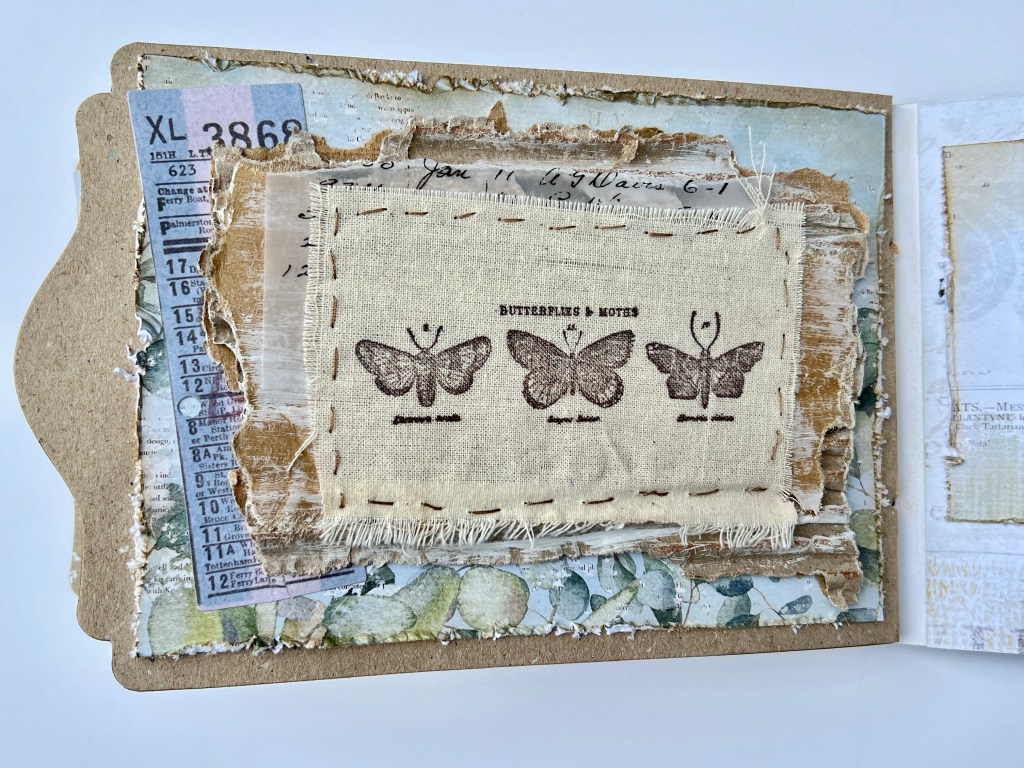
I even did a little bit of stitching! I stamped the butterflies on a scrap of fabric, then took a piece of cardboard box, dry brushed some gesso on it, then stitched the fabric to it before attaching it to the page. I love how it turned out.
For the back of the journal I used the same collage papers as the front, then a fern and butterfly from the 49 & Market collection.
I punched holes in the pages so that I could attach them to the journal with seam binding (I used cream seam binding and soaked it in tea to give this lovely vintage colour). I also added a little metal hardware piece (Tim Holtz).
Hope you’ve enjoyed seeing this journal. I really enjoyed making it and can’t wait to do more (I’ve been scouring antique shops for old botanical books and ephemera so watch this space!)
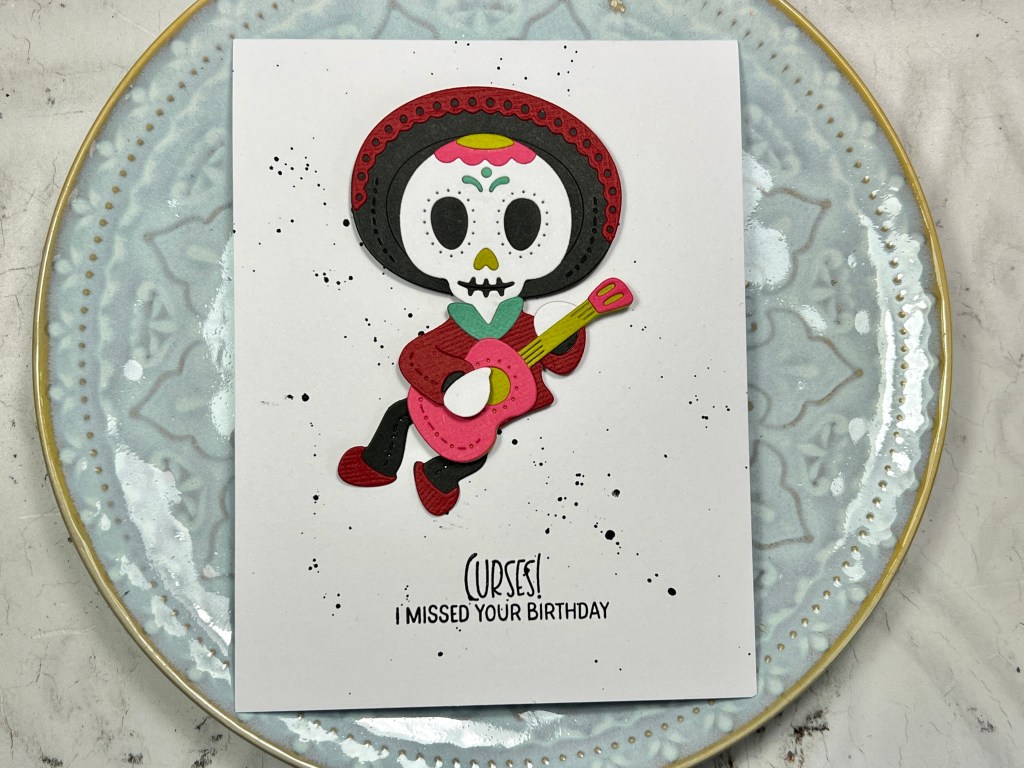
I absolutely adore this new Halloween/Day of the Dead set from Spellbinders (there are other characters in the collection too).
What’s really cool is that the legs move from side to side – there’s a little circle cut out at the top of the die cut so you just add a foam pad in the centre and it allows the legs to swing.
Affiliate links are used at no cost to you
Sizzix Big Shot Die Cutting machine Shop at: SSS | SZ | AZ | CS | SBC
Spellbinders Dancin’ Day of the Dead Boy Shop at: SSS | SBC | SP
Here’s a little sneak peek of the cards we’ll be making at my next class – a bit of Christmas, as well as some general occasion cards. September will be full on Christmas!
There’s probably another couple to come, but I can’t share yet as they are with new die sets.
This class is fully booked, but if you’re interested in coming to a future class, drop me an email on backdated@hotmail.com
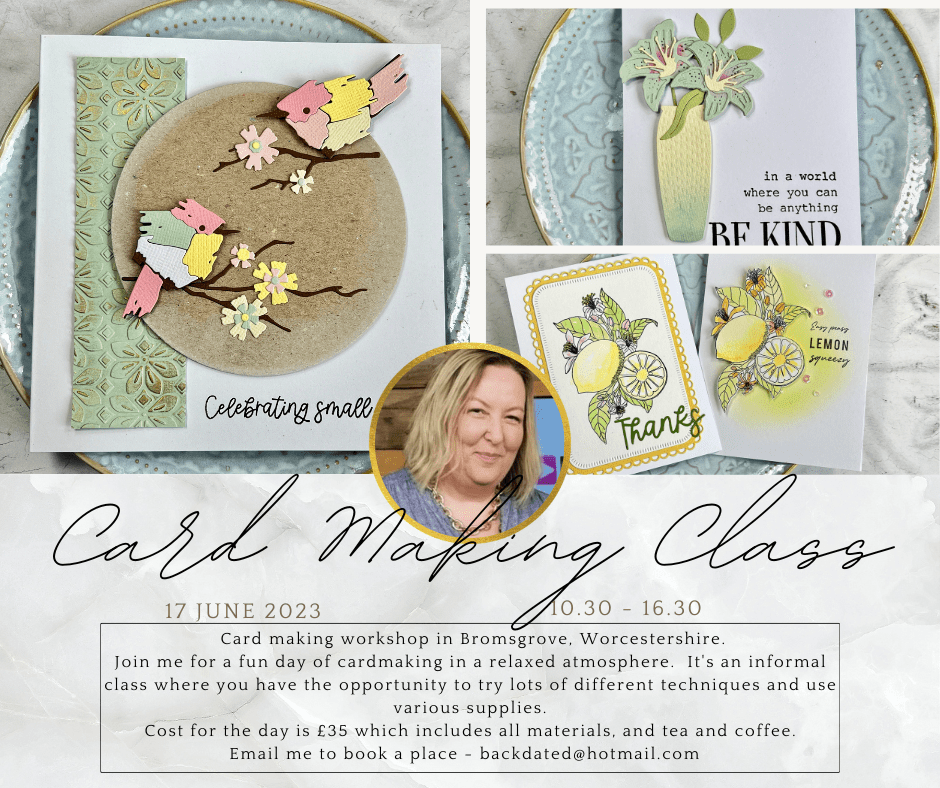
I’m really looking forward to another card making class this weekend.
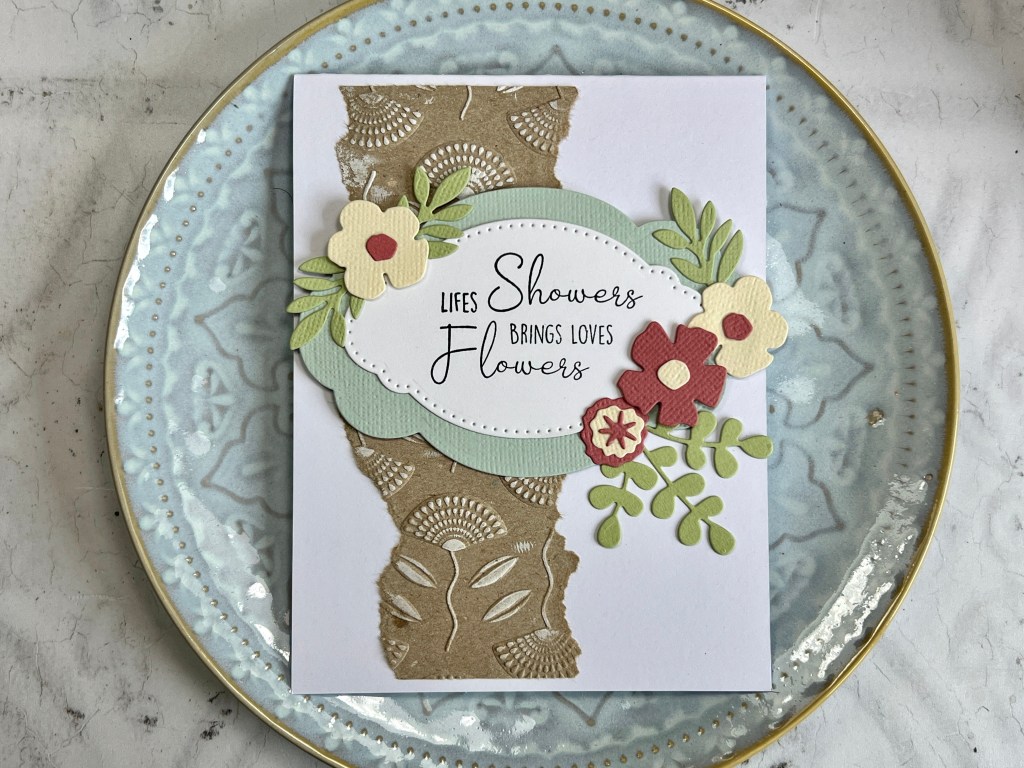
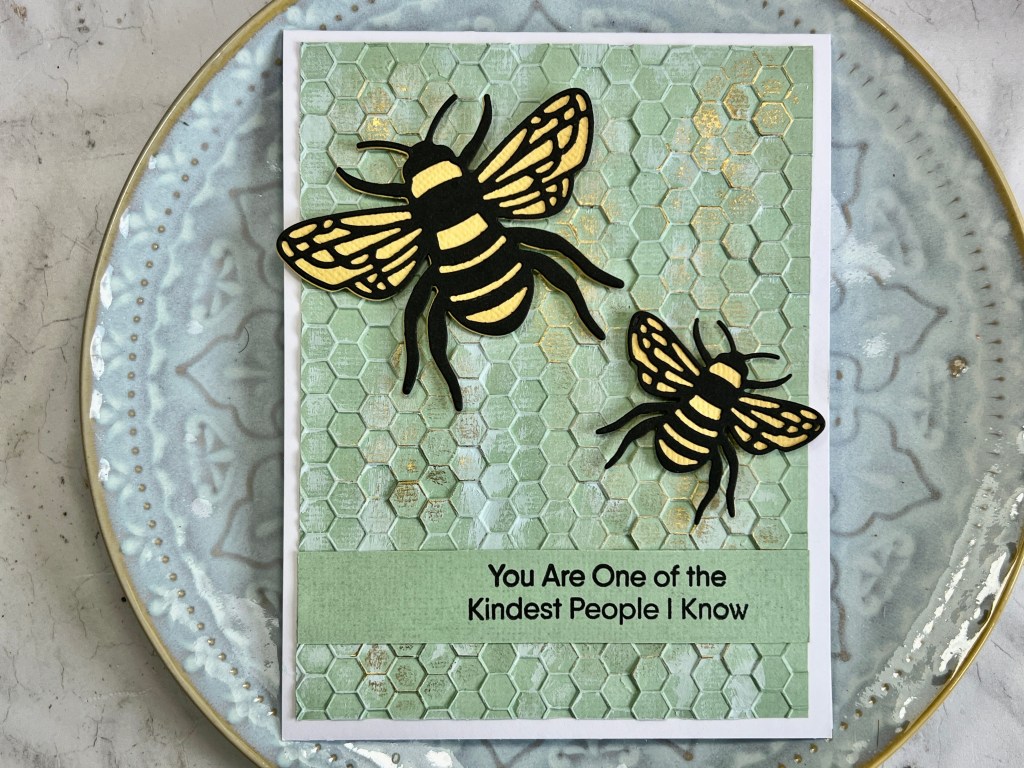
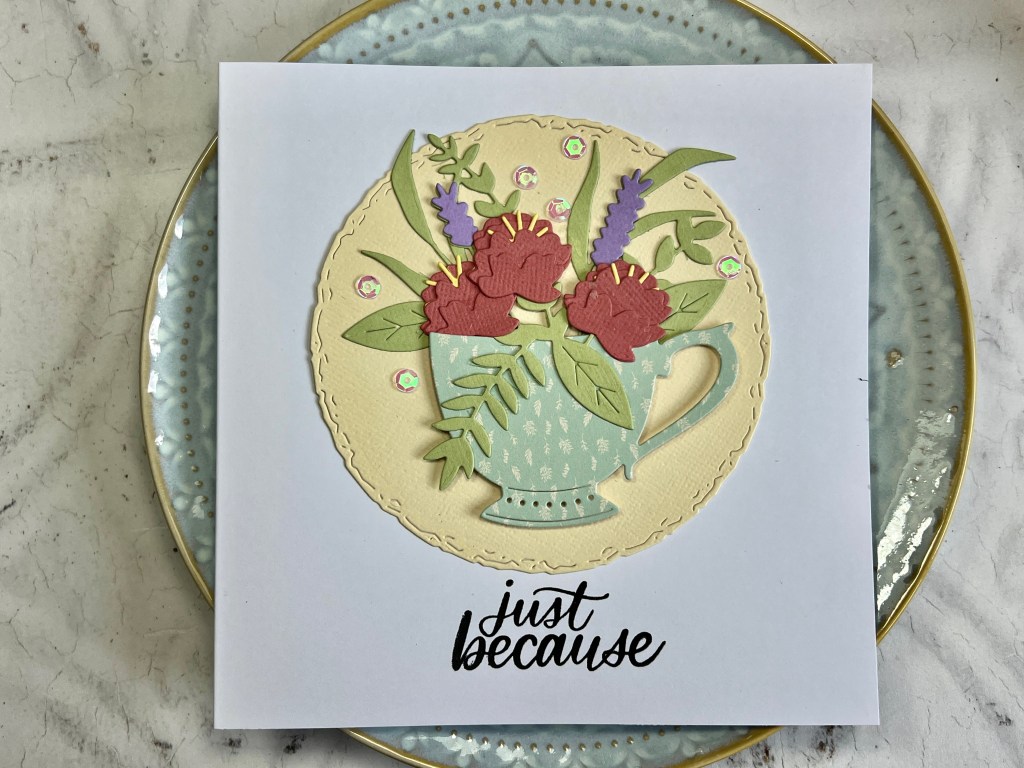
For this one, I’ve tried to come up with ideas that will work for all occasions just by changing up the sentiments, and I’ve made sure there’s a good selection of cards that would work for men, so it’s not all my usual florals!
The class is almost fully booked, I’ve just got two places left, so if you’d like to join us, just drop me an email on backdated@hotmail.com for the details.
My next cardmaking class is coming up, so here’s a little sneak peek of what we’ll be making on the day…
I’ve still got a couple of places left, so if you’d like to join us (or would like more info.) then drop me an email on backdated@hotmail.com
My classes are very relaxed and informal, and suitable for all levels of card maker. I bring along lots of supplies, and will show you how to make the cards you see here, however, you are equally welcome to just use these as inspiration and do your own thing!